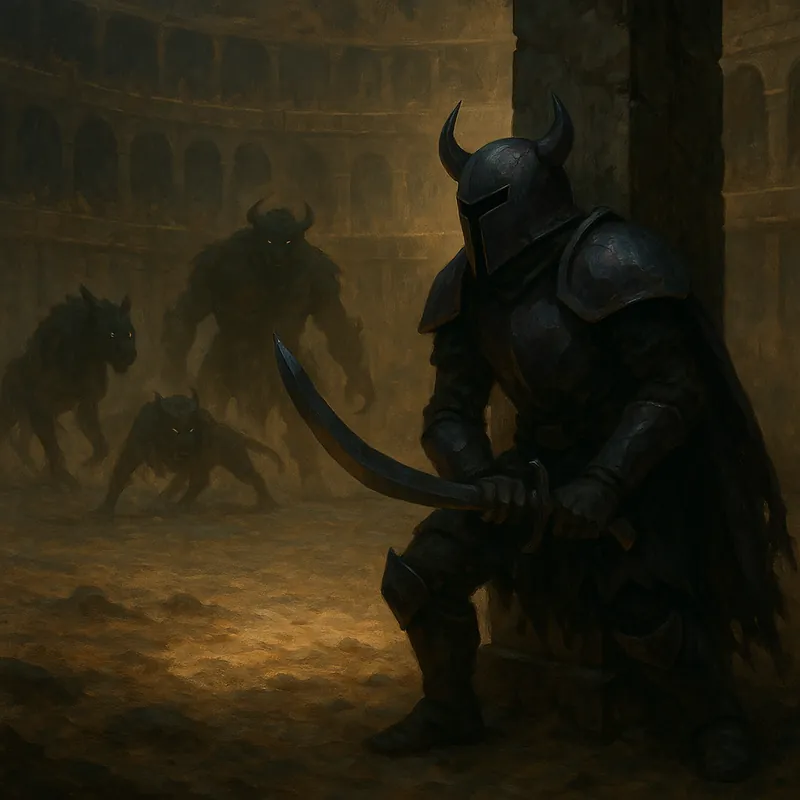

OSRS Colosseum on a Shoestring: Budget Gear, Pillar Play, and a Clean Soul Kill
A practical, low-cost Colosseum approach: what to bring, how to run waves, and how to handle Soul mechanics safely.
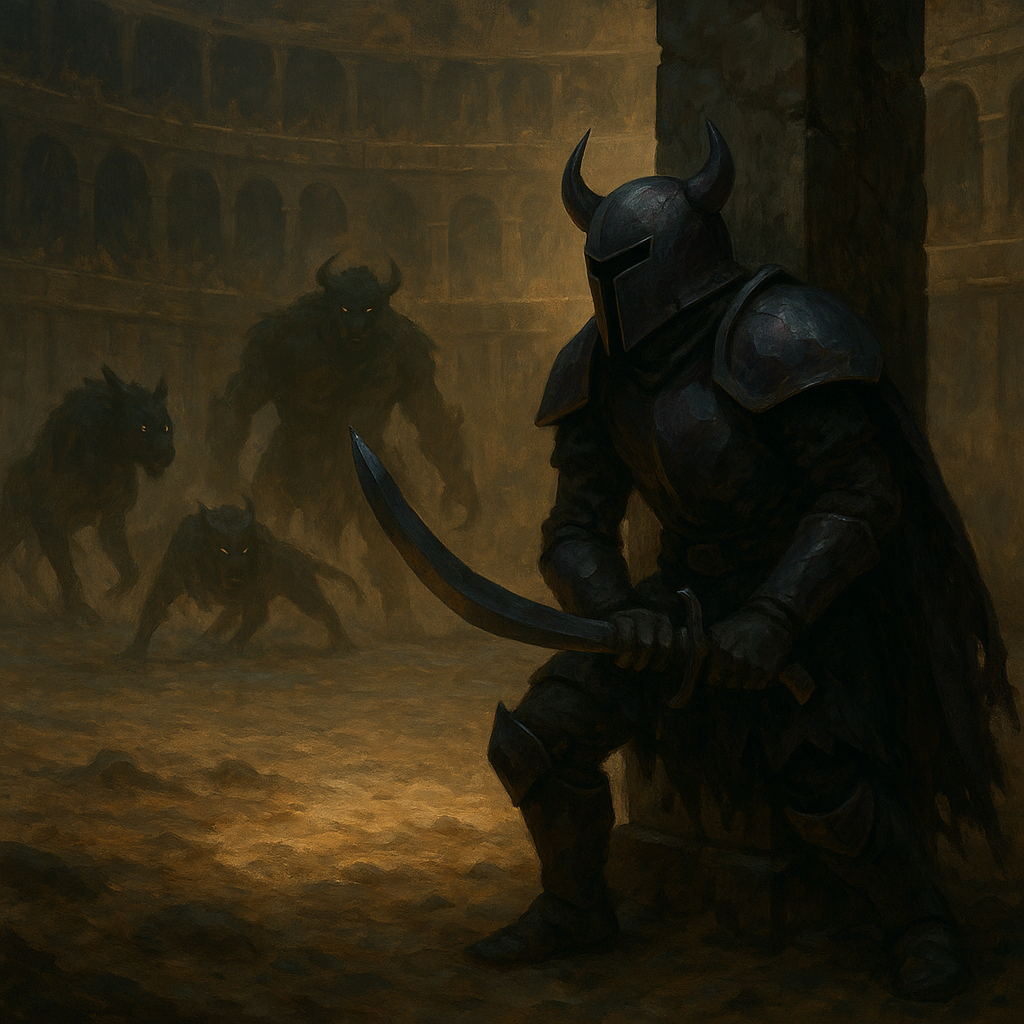
Overview
Budget Colosseum Overview (What This Guide Covers)
This guide breaks down a low-cost way to clear the Old School RuneScape Colosseum using a simple, repeatable plan: use pillar positioning to control spawns, range the key threats with a crossbow, then finish most of the wave with melee in tanky armor. You’ll also learn how to approach the Soul fight with a safe, low-risk modifier choice and how to avoid common run-ending mistakes like bad tile pulls and failed destacks.
Note: The source material references a “10k gear budget” concept and separates gear cost from supply usage. This guide follows the same idea: keep tradable gear minimal, and accept that consumables often cost more than the equipment.
What “Budget” Means Here (Gear vs Supplies)
A true shoestring Colosseum run is less about pretending supplies are free and more about minimizing the tradable gear you risk or invest in. In practice:
- Tradable gear is kept extremely lean (example items mentioned include climbing boots, a Strength amulet, bolts, and a budget crossbow).
- Untradeables do the heavy lifting for survivability (notably Void melee is referenced as the core tank option).
- Supplies still matter because longer waves and a slower boss kill naturally consume potions and food.
Core Strategy: Pillar Control First, Damage Second
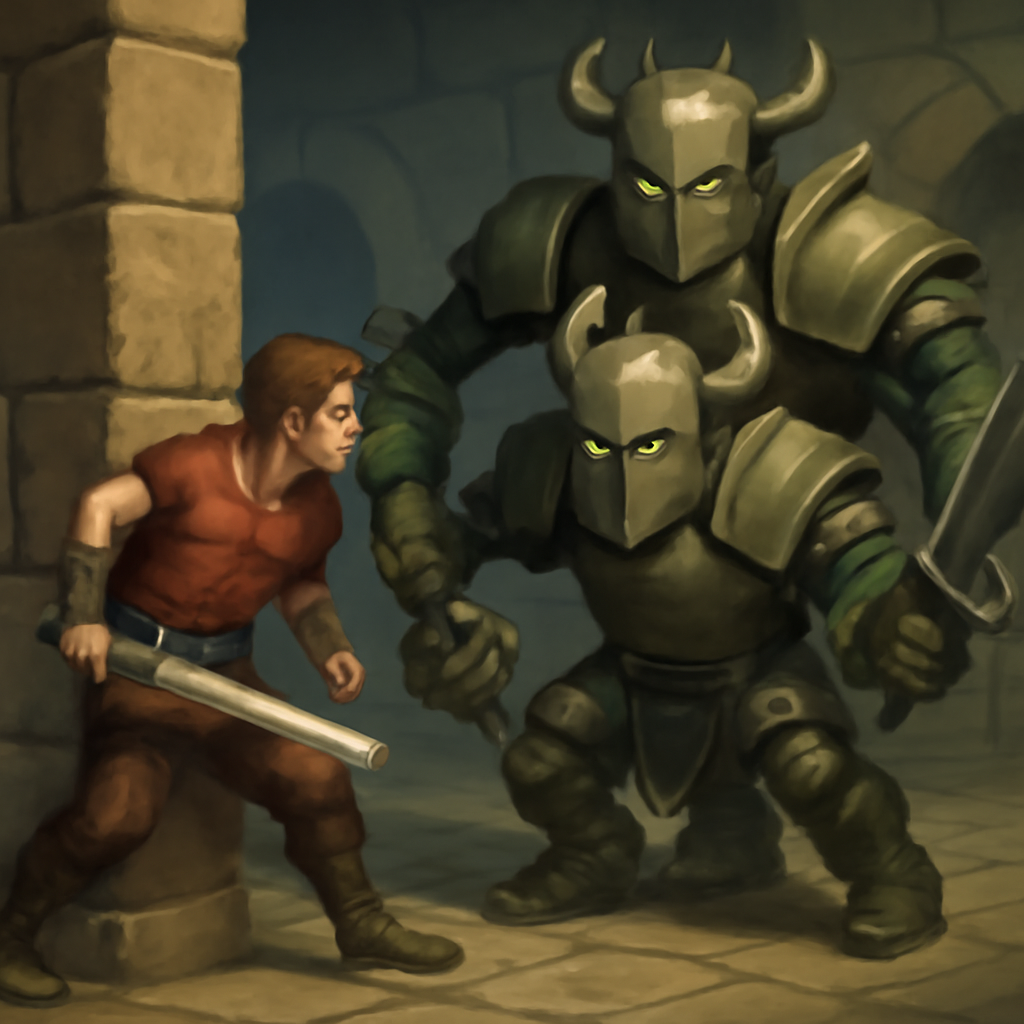
The run described relies on playing around a pillar to reduce incoming damage and to manage multi-threat spawns. The key takeaway is that you don’t need peak DPS if you can consistently control line of sight and isolate targets.
Why the Pillar Method Works for Budget Gear
- It limits how many enemies can attack you at once, which is crucial when your offense is slower.
- It buys time for summons/charges and passive damage sources to contribute without forcing risky face-tanking.
- It stabilizes “bad” spawns by letting you pull one target at a time and “destack” clumps.
Northwest Pillar vs Southwest (Learning Curve Considerations)
The source favors a northwest pillar approach and explicitly calls out southwest as a steeper learning curve—especially for melee-focused play. If you’re learning on a budget, prioritize the method you can execute consistently rather than the one with the highest theoretical efficiency.
- Choose the pillar setup you can repeat under pressure.
- Expect occasional awkward spawns (like early “double south” style situations) and plan to survive them rather than race them.
Budget Gear Framework (What to Bring and Why)
The exact best-in-slot list will vary, but the source run revolves around three ideas: tanky untradeables, minimal tradables, and flexible weapon swaps.
Armor: Void Melee as the Tank Backbone
Void melee is highlighted as the reason the run can “just take a hit” during certain destacks or awkward pulls. The practical lesson: when you’re undergeared offensively, you often win by staying alive long enough to clean the wave.
Boots and Amulet: Cheap, Functional Slots
- Climbing boots are used as a budget replacement for more expensive melee boots.
- Strength amulet is used as a basic damage boost without spending big.
Weapons: Ranging Key Targets, Melee for Cleanup
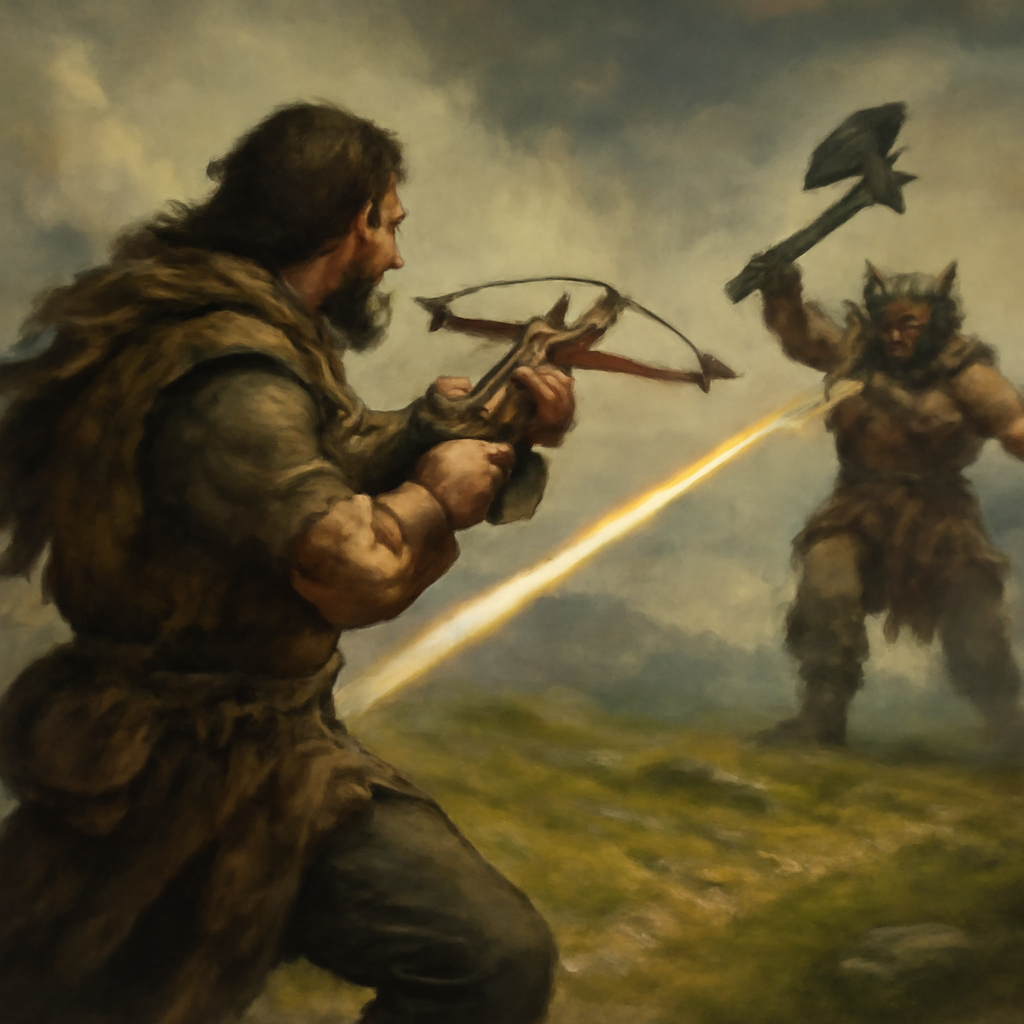
The source uses a budget crossbow (described as a Hunter sunlight crossbow) to handle specific enemies at range, then swaps back to melee for the majority of the wave. It also mentions an Arkan blade as the melee weapon, noting surprisingly strong performance for its cost bracket.
Bolts: Plan Your Ammo Like a Supply
Because bolts are consumed and are part of the “budget” in practice, treat them like a resource you allocate per run. The source mentions a rough count approach (for example, two bolts per ranger interaction over many waves). Even if your exact numbers differ, the takeaway is solid:
- Bring enough ammo to solve the wave’s ranged checks.
- Don’t waste bolts on targets you can safely melee.
Wave Execution: A Simple Loop That Works
Most of the run is described as “normal Colosseum” gameplay—meaning the difference-maker is consistency, not a secret trick. Use this repeatable loop:
1) Pre-wave Setup
- Pre-pot if your route supports it so your early wave tempo is smooth.
- Start in the correct prayer for the first threat you expect. If you misclick, don’t panic—fix it immediately and re-center behind the pillar.
2) Identify the “Must-Range” Target
The source repeatedly references ranging a specific enemy (a berserker-style threat) before swapping back. The general concept is:
- Range the enemy that is most dangerous to approach or most likely to force you out of position.
- Use the pillar to break line of sight while you set up the pull.
3) Melee Cleanup While Tanking Select Hits
With tank gear, you can sometimes accept a controlled hit to fix positioning (especially for destacks). The key is to take hits on your terms—never while multiple enemies have clean line of sight.
4) Destacking (Avoiding the Run-Ending Pile)
Destacking is referenced multiple times as the moment where budget runs can fail because it may require taking a small amount of damage or stepping into a risky tile. The safe approach:
- Commit to one clean movement rather than jitter-stepping.
- Re-acquire the pillar immediately after the pull.
- Don’t chase damage if it breaks your line-of-sight control.
Wave Modifiers and Picks: How to Choose Safely on Budget
Several picks are mentioned in the source (including Relentless, Doom, Manty Mayhem, and Volatility). Rather than copying a single run’s exact choices, use the decision logic below.
Relentless: The “Don’t Miss” Option
Relentless is taken with the mindset that consistency matters more than greed. If a modifier punishes mistakes less than alternatives, it’s often correct for budget clears—especially if your damage is lower and you’ll be in the wave longer.
Doom: High Risk When Tiles Get Weird
The source warns about Doom causing problematic tile behavior (“rags tiles”) and explicitly avoids it before Soul. The practical advice:
- Avoid modifiers that can force unpredictable movement when your gear can’t brute-force a mistake.
- If a modifier can lose the run instantly due to one bad tile, it’s not budget-friendly.
Manty Mayhem: The Boredom Check
The source frames Manty Mayhem as mechanically manageable but mentally taxing—longer periods where you can lose focus and miss a prayer swap. If you choose a slow, safe route, you must also commit to staying attentive.
Solar Flare and Re-entry: When “Technically Good” Isn’t Practical
Solar Flare is repeatedly treated as hard to justify for this budget style, and Re-entry is avoided due to tile risk. The general rule is simple: if a pick increases chaos, it’s usually worse for low-cost clears.
Managing Prayer and Downtime (Why Regen Matters)
The source mentions buying prayer regeneration because a budget melee setup won’t “DPS race” certain threats quickly. If your kill speed is slower, you will naturally spend more time in wave states where prayer drains.
- Plan for longer waves with enough prayer sustain to avoid panic restores.
- Use downtime behind the pillar to stabilize instead of forcing damage.
Transition to Soul: What to Prepare Before the Boss
Before entering Soul, the source emphasizes that you don’t need to overcomplicate supplies—focus on what keeps you alive and lets you maintain damage uptime.
- Keep your core combat boosts (super combat-style boosts are referenced).
- Bring enough healing to survive mistakes during high-pressure mechanics.
- Don’t over-invest in restores if your plan isn’t prayer-intensive for the boss phase.
Soul Fight on a Budget: Volatility and Clean Movement
The Soul fight is approached with a conservative modifier choice: Volatility. The source calls it an “easy pick” because it’s readable and rewards disciplined spacing.
How to Play Volatility Safely
- Recognize the trigger and commit to stepping away when it procs.
- Don’t rely on external reminders; build the habit of watching for the mechanic and moving immediately.
- Save doses where possible by avoiding unnecessary damage during predictable windows.
Why Budget Soul Kills Take Longer (And Why That’s Fine)
The source describes a longer Soul kill time and frames it as acceptable because the setup is intentionally low-cost. That’s the correct mindset: a budget clear trades speed for consistency. If you can reliably finish the run, you can improve time later with incremental upgrades.
Common Failure Points (And How to Avoid Them)
1) Mismanaged Double Spawns
Awkward early spawns happen. The fix is not to “out-DPS” them with budget weapons; it’s to pillar-reset and isolate one threat at a time.
2) Destack Panic
Most deaths come from frantic movement. Make one deliberate pull, accept a controlled hit if necessary, and return to line-of-sight safety.
3) Greedy Modifier Picks
If a modifier can create a run-ending tile scenario, skip it. Budget runs win by removing volatility, not adding it.
4) Losing Focus in Long Waves
Slow clears require attention. Treat prayer swaps and positioning as the “real” skill check, not your gear.
FAQ
Is Void melee enough to survive mistakes in the Colosseum?
It helps a lot with controlled hits during pulls and destacks, but it won’t save you if multiple enemies have line of sight and you lose pillar control.
Do I need expensive boots and amulets for a budget clear?
No. Cheap options like climbing boots and a Strength amulet can work if your positioning is consistent and you avoid greedy waves.
Should I always range first and melee after?
Use range for the targets that are dangerous to approach or force bad movement. Melee is usually better for cleanup once the wave is stabilized behind the pillar.
Which Soul modifier is safest for low-cost setups?
Volatility is a strong choice because it’s readable and rewards simple spacing—step away cleanly when it triggers and avoid stacking extra risks.
Why does my “budget run” still burn a lot of supplies?
Lower damage means longer waves and more time taking chip damage or spending prayer. That’s normal—budget clears often save on gear while paying more in consumables.