
Path of Exile Deadeye Guide: Lightning Arrow to Elemental Hit Progression
Learn when to change skills, switch to critical strikes, invest in defenses, and prepare your Deadeye for faster mapping.
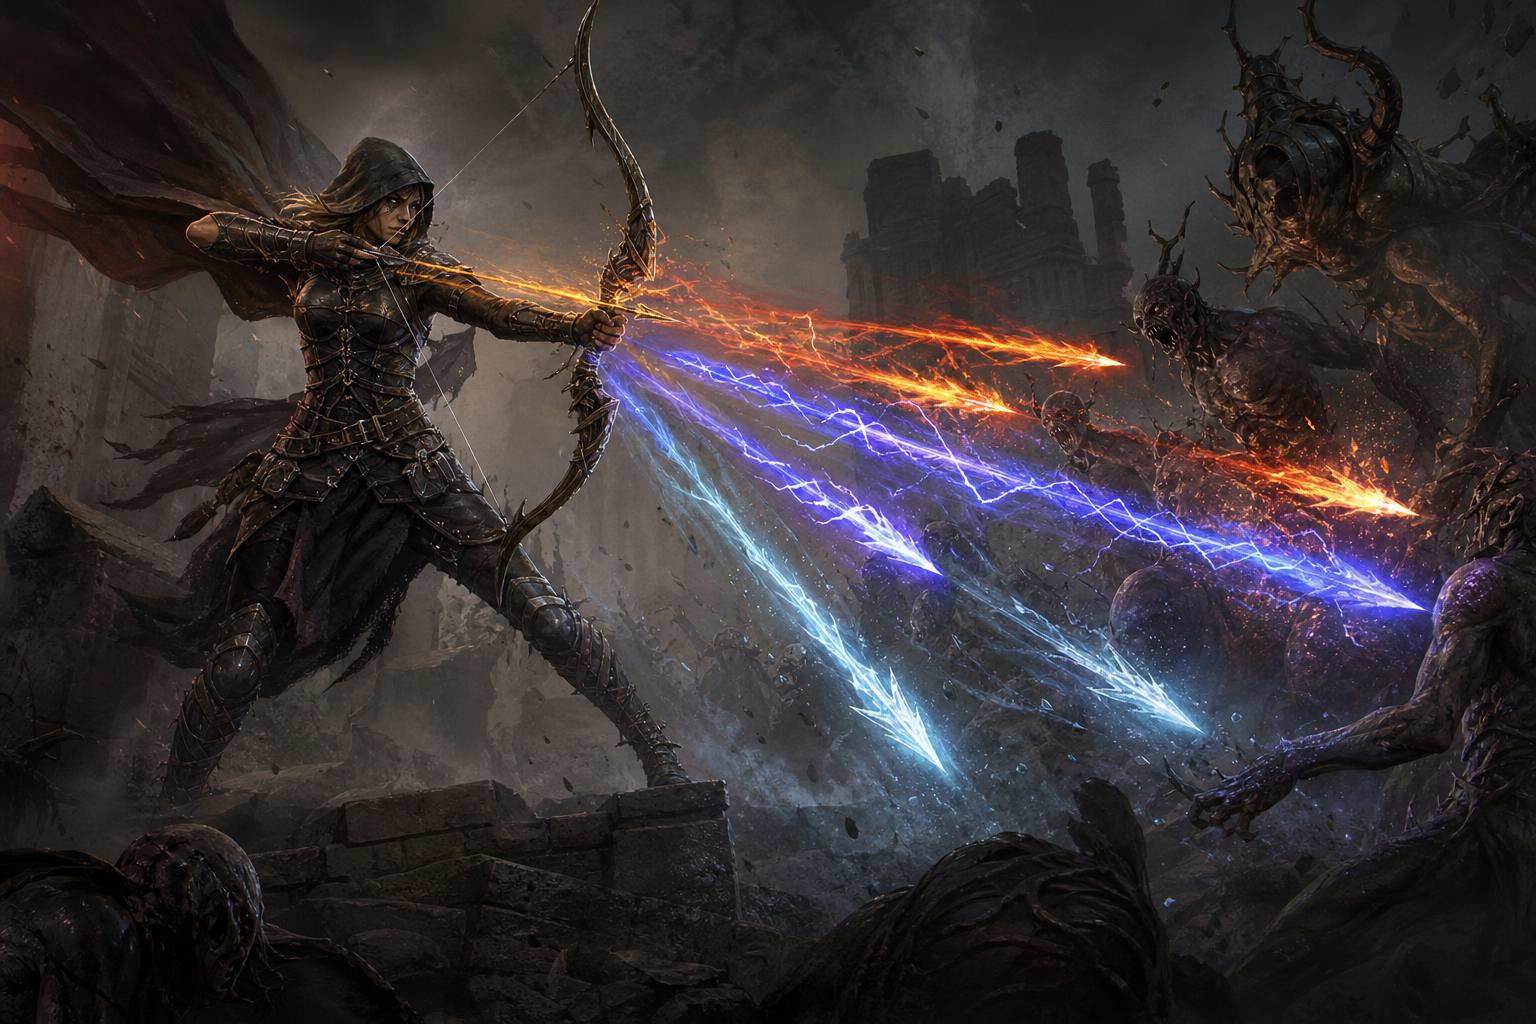
Overview
Learn how to progress a bow Deadeye from campaign leveling into fast mapping, including when to switch skills, how to prepare for critical strikes, and which upgrades deserve your resources first. This route uses Lightning Arrow as a bridge into Elemental Hit of the Spectrum, with shrine investment helping a relatively fragile character maintain momentum.
How the Deadeye Progression Works
The progression has several distinct stages: level with reliable area damage, establish your projectile count, enter maps with accessible equipment, then transition into a critical-strike setup. Expensive mapping items come after the character has dependable damage and basic defenses.
- Early campaign: Galvanic Arrow into Rain of Arrows.
- Late campaign and early maps: Lightning Arrow once additional arrows are available.
- Early-to-midgame mapping: Elemental Hit of the Spectrum with adequate gem levels.
- Established character: Better rare equipment, cluster jewels, and optional rare-monster buff setups.
- High investment: Headhunter and, if fully prepared, a specialized Ice Shot transition.
Avoid treating these as mandatory level checkpoints. Equipment, gem availability, and defensive readiness matter more than reaching a particular character level.
Leveling Skills and the First Gem Swap
Galvanic Arrow into Rain of Arrows
Start with Galvanic Arrow at level 2, then move to Rain of Arrows at level 12. Rain of Arrows provides practical campaign coverage without requiring the additional projectiles that make Lightning Arrow feel much better.
Continue using it through most of the campaign. Complete the Merciless Labyrinth when ready and obtain the Deadeye Ascendancy notable that grants two additional projectiles. Together with the additional arrows available from Master Fletcher and Multishot, this provides five arrows in total, including the base projectile.
That is a sensible point to switch to Lightning Arrow. If the campaign setup still performs comfortably, there is no need to force the change earlier.
When to Equip Elemental Hit of the Spectrum
Elemental Hit of the Spectrum supplies substantial flat elemental damage through its gem levels. This makes it particularly useful before expensive equipment provides enough added damage to support other bow skills.
Aim for at least gem level 16 before making the swap. Buy the transfigured gem through trade if that is more convenient than obtaining it through the Labyrinth, then level it in a spare weapon socket until it is ready.
For this progression, it can replace Lightning Arrow directly while retaining the planned support setup. Check individual support restrictions before making changes of your own rather than assuming every possible Lightning Arrow link is interchangeable.
If the leveled gem is already available when you finish the campaign, the intermediate Lightning Arrow stage can be skipped. Otherwise, keep mapping with the regular skill while preparing it.
Build Enough Critical Strike Support Before Respeccing
Precise Technique is useful during early progression, provided accuracy remains higher than maximum life. It prevents critical strikes, so allocating critical-strike passives while retaining the keystone does not create a functioning critical build.
Prepare the replacement equipment first. Hyrri's Truth is a major part of the transition, while Rat's Nest offers a large amount of increased critical strike chance alongside other useful offensive properties.
- Acquire Hyrri's Truth and check that its requirements and reservation fit your setup.
- Use a bow with a suitable critical strike base and a useful local critical strike modifier.
- Allocate enough critical-strike chance and multiplier to support the change.
- Remove Precise Technique when committing to critical strikes.
- Recheck accuracy, mana sustain, and practical damage afterward.
A transition around the late seventies can be reasonable, but it is not a requirement. A shrine-focused version may use The Gull instead of Rat's Nest; in that case, make sure the remaining equipment and passive tree provide sufficient critical strike support.
Use Shrines to Accelerate Atlas Progression
Shrines offer temporary power that can make a developing bow character substantially faster and more effective. Atlas investment that adds shrines or improves their effects gives the build more opportunities to benefit from those buffs.
The Gull complements this approach through shrine-related bonuses, including increased effect and duration of shrine buffs. It is an alternative to a purely offensive helmet when the mapping strategy consistently supplies shrines.
Practical Shrine Mapping Priorities
- Prioritize relevant shrine passives when building an Atlas around this strategy.
- Collect nearby shrine buffs before engaging dangerous encounters.
- Keep moving while buffs are active instead of spending their duration sorting loot.
- Judge difficult content by how the character performs without ideal buffs as well as with them.
Acceleration Shrine buffs are especially useful for the fast-paced playstyle. However, shrine availability and Atlas options should be checked in the tree you are using; do not plan baseline defenses around a particular buff always being active.
Optional encounters with dangerous bosses can interrupt progression through repeated deaths. If an encounter consistently overwhelms the character, postpone it until defenses improve or engage it after collecting useful shrine buffs.
Defensive Targets for Comfortable Mapping
Deadeye relies heavily on positioning and clearing enemies at range. It still needs real defenses: killing quickly does not protect against every spell, projectile, or unexpected rare monster.
Take a look at: Ice Shot of Penetration projectile overlap guide
Spell Suppression Comes First
Work toward 100% chance to suppress spell damage. While below the cap, the mastery that makes suppression chance lucky can improve consistency, provided it is available in your passive setup.
Lucky suppression is not the same as guaranteed suppression. Once the character reaches the cap without it, those mastery points can be reassigned.

Life, Evasion, and Resistances
Useful early-to-midgame targets are approximately 4,000 life and 13,000–15,000 evasion with a Jade Flask active. These are practical progression benchmarks, not a promise that every encounter becomes safe.
- Cap elemental resistances before prioritizing luxury damage rolls.
- Look for substantial life on gloves, boots, and the belt.
- Combine movement speed with suppression and resistances on boots.
- Improve chaos resistance rather than leaving it deeply negative indefinitely.
- Use range and movement to avoid telegraphed attacks.
Bringing chaos resistance toward zero is a meaningful improvement over heavily negative values, but dangerous chaos-heavy content can demand more. Likewise, evasion does not replace spell mitigation or a sufficient life pool.
Gear Upgrade Order: Spend Where It Changes the Build
Efficient use of Path of Exile currency means buying the next meaningful improvement rather than copying an expensive finished character. Prices fluctuate, so compare functional alternatives instead of relying on fixed Chaos Orb or Divine Orb estimates.
1. Secure Usable Links and Core Equipment
An affordable six-link can be more valuable than a prestigious item with inadequate links. A suitable corrupted rare is one option, provided its socket colors and modifiers work for the build.
Daresso's Defiance can serve as a budget body armour in this progression. Hyrri's Ire is the preferred upgrade when affordable, but it should not consume resources needed to fix basic equipment.
2. Establish the Offensive Core
Hyrri's Truth supports the critical transition, while two copies of The Taming provide an important damage package. When comparing ring rolls, prioritize relevant elemental damage once resistance requirements are already satisfied.
For the weapon, a bow around 600 elemental damage per second with attack speed and critical strike support is a practical reference point. Spine Bow and Ivory Bow bases are worth considering for their critical strike characteristics. Evaluate the complete weapon rather than damage per second alone.
3. Match the Quiver to the Skill
Elemental Hit of the Spectrum deals no non-elemental damage. A physical-focused quiver therefore wastes offensive value in this setup.
Look for an appropriate combination of life, critical strike chance, critical strike multiplier, attack speed, projectile speed, added elemental damage, and increased damage with bow skills. Not every useful modifier must appear on one item for it to be an upgrade.
4. Finish Rare Armour and Useful Implicits
Gloves should contribute attack speed, life, and needed defensive modifiers. An appropriate rage-related Eldritch implicit can add offensive value where compatible with the setup. Action speed on boots is another useful improvement after basic movement speed and defenses are covered.
Do not neglect the combined life contribution of ordinary rare items. Several modest improvements can be what moves the character toward the desired life total.
Take a look at: Legion farming setup and risks
Cluster Jewels, Inspired Learning, and Headhunter
For most players, cluster jewels should come before saving everything for Headhunter. They improve the character during the entire saving process, making maps smoother and reducing the temptation to force content the build cannot handle.
Inspired Learning is an optional branch for content with plenty of rare monsters, particularly strategies involving Legion or Abyss. It requires a suitable socket with the required allocated notables nearby, so account for its passive-tree cost.
A general-purpose setup is preferable when content does not consistently provide rare monsters to steal modifiers from. Headhunter follows the same broad mapping emphasis: its appeal is strongest when encounters repeatedly supply rare enemies.
When allocating PoE currency, prioritize a character that functions without stolen buffs. Neither luxury belt nor jewel should be expected to repair missing suppression, poor accuracy, or unsuitable weapon damage.
When to Consider Ice Shot
A specialized Ice Shot setup belongs at the end of this progression, not at the first sign of spare resources. Its effectiveness depends on assembling the specific enabling jewel and supporting equipment required by the intended version.
Do not switch simply because the skill gem is available. First verify projectile interactions, damage scaling, and the full equipment requirements. Until that package is ready, continuing to improve the established elemental bow setup is the more dependable approach.
Frequently Asked Questions
Can Lightning Arrow be skipped?
Yes. If Elemental Hit of the Spectrum is available at a suitable gem level when the campaign ends, it can replace the intermediate Lightning Arrow stage.
Why does Elemental Hit need levels before the switch?
Its gem levels provide substantial flat elemental damage. Swapping to an underleveled copy can undermine the main reason to use it during early progression.
Should Headhunter come before cluster jewels?
Usually not. Cluster jewels and core equipment improve the character immediately, while saving everything for the belt can leave mapping unnecessarily uncomfortable.
Is The Gull always better than Rat's Nest?
No. The Gull suits a shrine-focused mapping strategy. Rat's Nest provides direct offensive benefits that can be valuable while establishing a critical-strike setup.
What should be fixed first if mapping feels fragile?
Check capped elemental resistances, suppression chance, life, and flask-supported evasion. Then reassess map modifiers and optional encounters rather than assuming more damage will solve every death.