
Path of Exile Storm Burst of Repulsion Totems: Transition and Upgrade Guide
Learn when to switch skills, trigger stronger explosions, and turn Soul Mantle curses into damage.
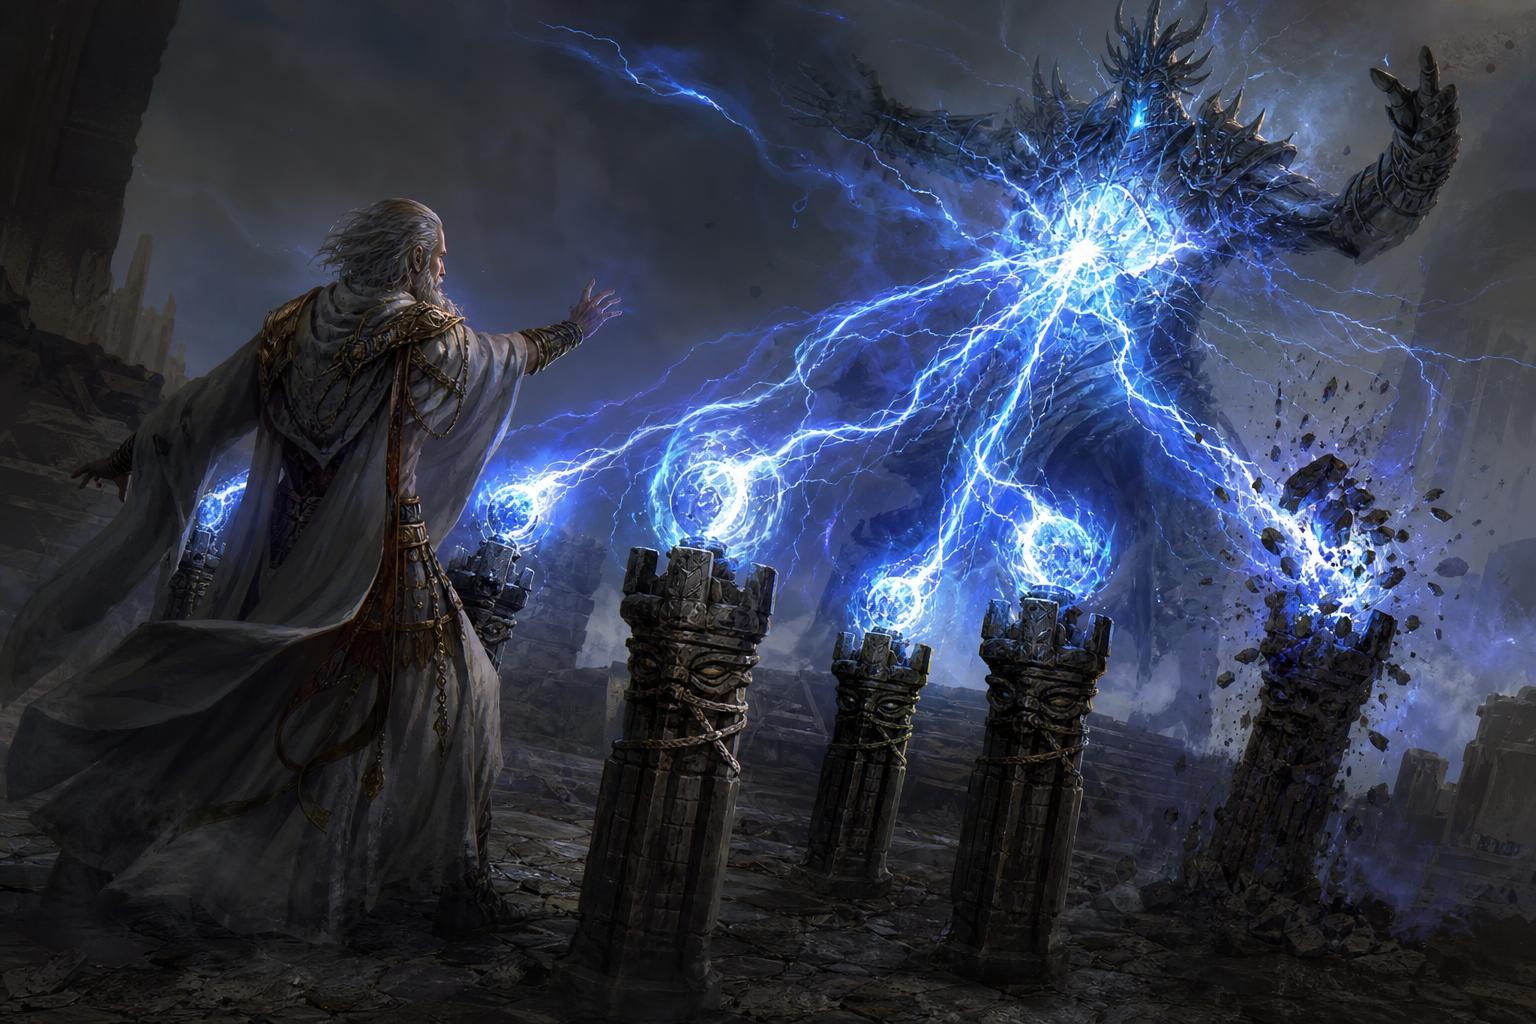
Overview
Storm Burst of Repulsion totems reward a carefully timed transition from Lightning Tendrils. Learn which passive points and gear pieces make the switch worthwhile, how to handle single-target encounters, and how a Soul Mantle setup turns self-inflicted curses into increased damage.
The key is understanding that this is not simply a different spell in the same links. Duration, physical-to-lightning conversion, and frequent totem replacement all matter. Getting those foundations right delivers more than rushing an expensive unique ring or copying a finished character one item at a time.
When to Switch from Lightning Tendrils
Lightning Tendrils remains a practical choice while the passive tree is still developing. Storm Burst of Repulsion wants substantial investment in skill effect duration, and reaching those clusters too early can force the build to abandon efficient damage or defensive nodes elsewhere.
A reasonable transition window begins around levels 87–90, with levels 90–93 offering more flexibility. These are planning guidelines rather than requirements: the important question is whether the tree can support duration without compromising the rest of the character.
- Prepare a Storm Burst of Repulsion gem at level 19 or higher.
- Level its support gems before comparing it against an established Lightning Tendrils setup.
- Allocate the relevant duration clusters and duration mastery.
- Look for strong spell critical strike chance on the weapon and off-hand.
- Complete physical-to-lightning conversion before judging performance.
Anathema is not required for this transition. Its price should not determine when the build changes skills. Prioritize the mechanics that directly support the new spell instead.
Complete Physical-to-Lightning Conversion
Storm Burst of Repulsion starts as a physical spell with 50% of its physical damage converted to lightning. The remaining half needs another conversion source if the build is to scale its damage consistently through lightning modifiers and penetration.
A budget arrangement combines three sources:
- 50% conversion from the skill gem.
- 40% conversion from the Lightning Mastery.
- At least 10% conversion from a glove implicit.
This arrangement requires access to a second Lightning Mastery if the first is already committed to shock effect. Account for that passive cost when planning the transition.
Gloves can eventually provide more conversion through explicit modifiers and stronger implicits. That can free the mastery for another purpose, but the best arrangement depends on the equipment available. Do not replace a functional budget solution merely because a more elaborate version exists.
Physical to Lightning Support can fill a conversion gap, but it occupies a valuable support socket. The preferred approach is to finish conversion through the tree and equipment so the main links remain available for stronger damage scaling.
Why Duration and Quality Matter
The defining mechanic is the explosion damage gained for each 0.4 seconds of remaining orb duration. Increasing duration therefore improves the damage available when an orb explodes; it is not simply a way to leave damaging effects active for longer.
This makes More Duration Support a core consideration rather than a convenience link. Gem quality is also valuable because it increases the skill's base duration, which interacts favorably with subsequent duration scaling.
Ashes of the Stars is an attractive upgrade for that reason. When the equipment setup grants additional quality based on socket colour, place the active skill in the appropriate blue socket. That benefit comes from the relevant equipment modifier, not from blue sockets inherently granting quality.
Because the spell begins with physical damage, modifiers granting physical damage as extra damage also become useful upgrade options. Grace of the Goddess is one weapon to evaluate later, rather than a prerequisite for starting the build.
Main Skill Links
The Soul Mantle version uses the following six socketed gems:
- Storm Burst of Repulsion
- Increased Critical Strikes Support
- Lightning Penetration Support
- Increased Critical Damage Support
- Multiple Totems Support
- More Duration Support
Soul Mantle supplies Spell Totem Support through the body armour itself. Before equipping it, the skill still needs a source of totem support, so do not copy these six links unchanged into an ordinary chest.
How to Play Storm Burst of Repulsion Totems
Mapping: Place Totems Ahead of Your Movement
During clear, place totems near upcoming packs and keep moving. Once damage is sufficient, the smaller hits can kill ordinary enemies while the spreading orbs cover additional ground.
Replace totems regularly rather than leaving every placement active for its full lifespan. When a totem disappears, the orbs it created explode. Replacing older totems therefore contributes directly to damage while also moving your coverage forward.
Bossing: Replace Totems to Trigger Explosions
Against a stationary boss, leaving the original totems untouched can be surprisingly ineffective. Their orbs travel away from the target, reducing useful overlap.
Instead, place totems around the boss and replace them in a controlled rhythm. This triggers explosions while the orbs still have substantial remaining duration and remain close enough to hit.
Constantly holding the placement button is not automatically optimal. Cast speed, area of effect, and the number of totems summoned per action all influence the best rhythm. Allow the totems to produce orbs, replace them, and adjust based on how reliably those explosions connect.
Multiple Totems Support improves placement coverage and can support the Hierophant's benefits from having additional active totems. Its value extends beyond making mapping more comfortable.
Take a look at: Wicker Man limb choices for totem progression
The Soul Mantle Self-Curse Upgrade
The Soul Mantle package is a separate progression step from the skill transition. It can be assembled before or after switching, depending on budget.
The body armour provides built-in level 20 Spell Totem Support, effectively freeing one socketed support slot. A useful corruption, such as +2 to socketed AoE gems or +2 to socketed Duration gems, adds another substantial improvement. Either matching corruption can be sufficient; obtaining both is not a requirement.
For an already corrupted chest, Tainted Jeweller's Orbs and Tainted Orbs of Fusing offer a route toward six sockets and six links. Outcomes are random, so compare the total crafting budget against the price of a completed item before committing valuable Path of Exile currency.
Turn Self-Inflicted Hexes into Damage
Soul Mantle inflicts a random Hex when a totem dies. Replacing totems also triggers this effect, allowing the build's normal playstyle to maintain multiple curses.
Self-Flagellation grants increased damage per curse affecting the character. At a maximum 20% roll, nine active curses provide 180% increased damage. This is increased damage, not a separate 180% more multiplier.
Where the Wicker Man system is available, its curse-scaling head option can add another source of increased damage. An effect granting 12% increased damage per curse contributes 108% with nine curses. Treat this as an additional layer rather than a requirement for the underlying Soul Mantle interaction.
Reduce Curse Effect Without Removing Curses
The objective is to remain cursed while neutralizing the penalties. Curse immunity or curse removal undermines the damage engine because the curses need to remain on the character.
Kikazaru supplies reduced effect of curses on you. With the applicable caster quality from Imbued Catalysts, its 60% modifier reaches 72%, leaving another 28% to cover.
An upgraded Soul of Yugul supplies a straightforward complementary source. Alternatively, sufficient reduced curse effect from jewels can close the gap and allow a different minor Pantheon choice.
Reach at least 100% total reduced curse effect for the ordinary self-curse setup, and check map or other modifiers that increase curse effect. Reduced effect is not the same as unconditional immunity.
Once this package is complete, review flask suffixes. A curse-removal effect can erase the very curses supporting your damage, while a redundant defensive suffix may be better replaced with another useful modifier.
Advanced Jewels and Utility Skills
Unnatural Instinct and The Light of Meaning
Unnatural Instinct grants the bonuses of unallocated small passive skills within its radius while preventing allocated small passives there from granting their usual bonuses. That makes pathing important: allocating a small node inside the radius can be counterproductive.
The Light of Meaning can complement it by adding bonuses to passive skills within an overlapping radius. Using the chaos resistance variant can supply a large amount of resistance through the small passives gained by Unnatural Instinct.
The exact benefit depends on placement and the passive tree. Do not assume a fixed resistance total or copy the jewel sockets without also copying the surrounding allocation.
In this arrangement, anointing Potency of Will can preserve access to its duration bonus without allocating the small passives leading toward it. The duration mastery then needs to come from another allocated duration cluster.
Plan the pair together before spending Divine Orbs. Their combined purpose is to improve passive efficiency and relieve equipment pressure, not simply to occupy two expensive jewel sockets.
Auras, Exposure, and Movement
Wrath and Zealotry are alternatives to compare against the finished character rather than universal winners. Small differences in calculated damage should not distract from conversion, duration, or correct totem placement.
If Wrath is supported by Eternal Blessing, adding another permanent aura can conflict with the setup. Vaal Haste can instead be used for its temporary Vaal effect without activating the regular Haste aura.
Wave of Conviction linked to Trap can provide utility against bosses. Check which element deals the highest damage so it applies the intended exposure. Shield Charge supplies movement, while additional utility duration can improve the comfort of temporary effects.
Take a look at: Atlas progression toward reliable red-map farming
Funding Upgrades with Jungle Valley Altars
Jungle Valley offers a practical mapping loop for this character through Searing Exarch influence. Before the boss encounter is activated, its boss handling helps exclude boss-reward altar options, making it attractive for farming Eldritch Minion rewards. Mausoleum offers a similar useful interaction.
Build around repeatable clears rather than maximum investment:
- Use a map tier and modifier combination the character handles reliably.
- Add shrine investment for useful buffs and additional monsters.
- Prioritize appropriate Eldritch Minion currency rewards when their downsides are manageable.
- Collect smaller currencies and sell accumulated surplus when worthwhile.
- Reinvest in conversion, links, curse mitigation, and defenses before luxury upgrades.
Chaos Orbs, Instilling Orbs, and Orbs of Regret are examples of practical rewards. Their relative value changes with the economy, so avoid treating any one return as permanent.
This is a steady PoE currency strategy rather than a guarantee of rare drops. Burning ground and dangerous altar downsides also matter: if curse mitigation commits the minor Pantheon to Yugul, solve those other hazards through equipment, movement, or more selective altar choices.

FAQ
Do I need Soul Mantle before switching skills?
No. The skill transition depends primarily on duration investment, gem levels, conversion, and suitable critical strike scaling. Soul Mantle is a separate upgrade package.
Why is my boss damage low despite good equipment?
Check totem replacement first. Leaving totems untouched allows orbs to move away, while controlled replacement triggers explosions near the target.
Can I use a curse-immunity flask with Self-Flagellation?
Avoid effects that prevent or remove the curses needed for damage. The intended solution is reduced curse effect while remaining cursed.
Should I buy Ashes of the Stars or finish conversion first?
Finish conversion and the core links first. Quality scaling is powerful, but it should enhance a functioning setup rather than compensate for missing fundamentals.
Is this a set-and-forget totem build?
No. Mapping is mobile and straightforward, but strong single-target damage depends on actively replacing totems at a useful rhythm.