
Path of Exile Toxic Rain Pathfinder Guide: Leveling to Early Maps
Learn the damage mechanics, campaign progression, and upgrade priorities behind a fast bow league starter.
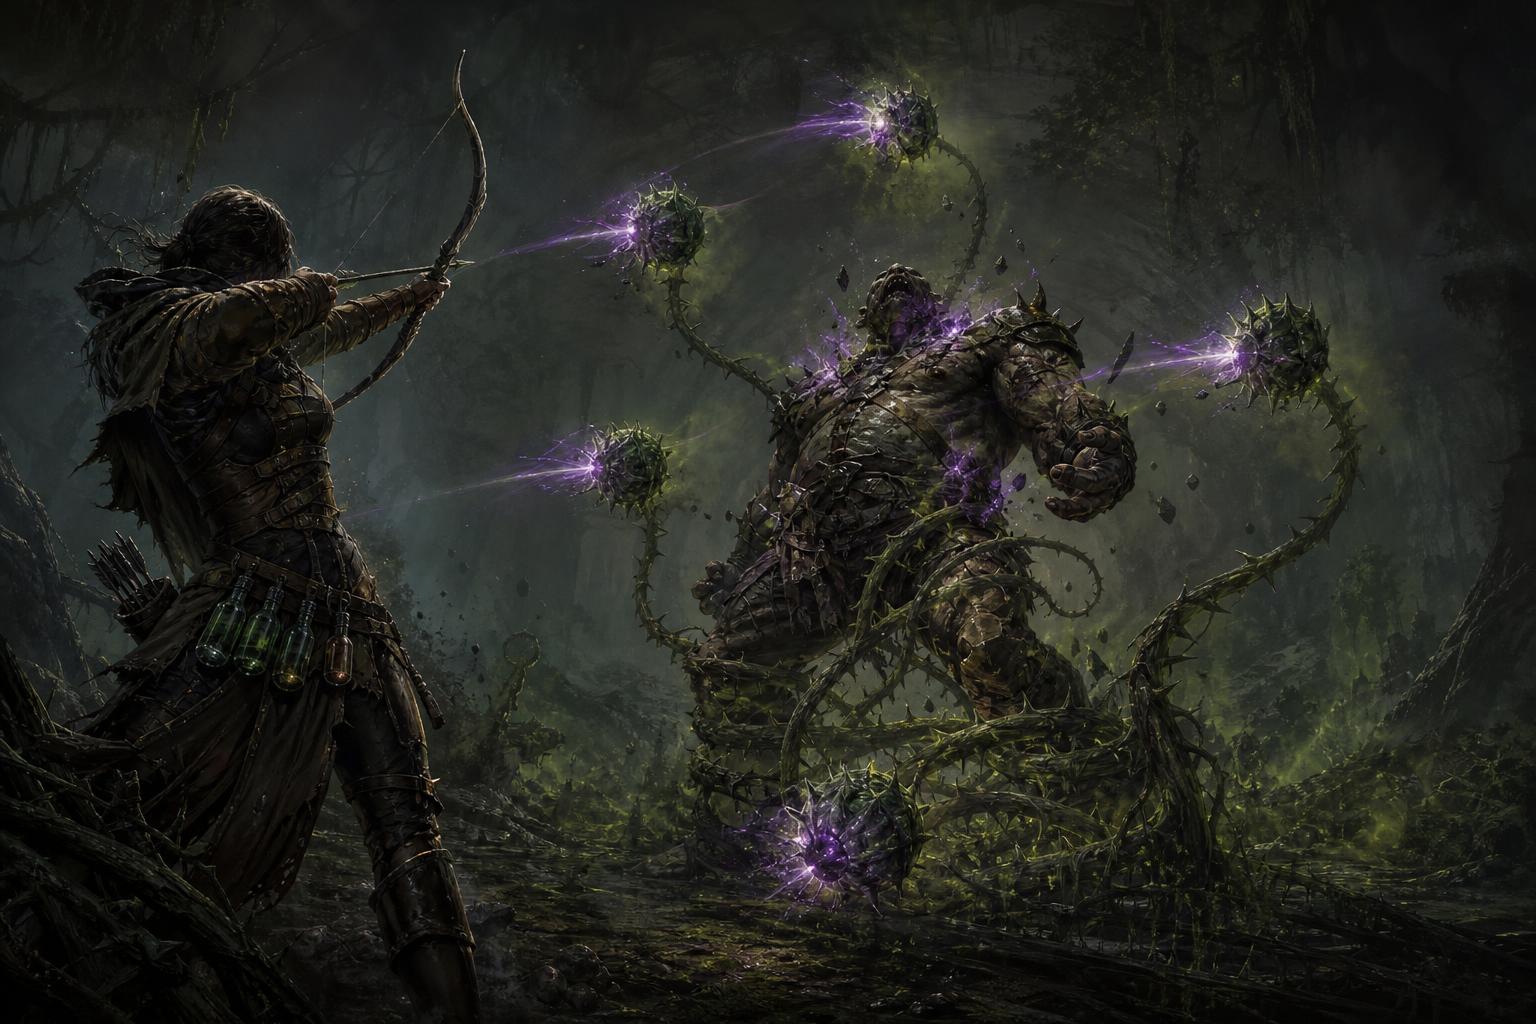
Overview
Toxic Rain Pathfinder combines fast movement, persistent chaos damage, and flask-based recovery into an approachable league starter. This guide explains how to level with Caustic Arrow, transition into Toxic Rain, tune pod overlap, and build toward automated utility attacks without overspending on early equipment.
The central advantage is straightforward: the build does not need a bow with impressive physical damage to function. Understanding its scaling matters much more than purchasing an expensive weapon during the campaign.
How Toxic Rain Pathfinder Works
Toxic Rain fires arrows into the air, creating spore pods where they land. Those pods damage nearby enemies over time and slow their movement before eventually bursting. For this setup, the overlapping chaos damage over time is the main damage source, not the initial arrow hits or explosions.
This is not a poison build. Poison modifiers, critical strike investment, and added attack damage are not the main ways to improve its pod damage. A weapon that looks powerful for a conventional bow attacker can therefore be a poor upgrade here.
The damage stats that matter
- Skill gem levels: Improve the base damage of Toxic Rain.
- Chaos damage over time multiplier: Scales the relevant damage directly.
- Attack speed: Helps establish overlapping pods faster.
- Skill effect duration: Lets pods persist longer, supporting more simultaneous damage against enemies that remain in range.
- Withered: Increases the chaos damage enemies take, with Pathfinder offering additional synergy through its Ascendancy.
- Appropriate area of effect: Helps multiple pods cover the same target.
Pathfinder also supports a mobile playstyle through flask sustain. Master Surgeon allows life flask recovery to continue at full life, making a properly maintained life flask an important defensive layer. It still requires attention: strong recovery does not prevent a lethal hit or excuse standing in dangerous boss mechanics.
Campaign Progression: Start with Caustic Arrow
Act 1: Establish clear speed and mana sustain
Caustic Arrow becomes available early and provides a comfortable starting point. Its damaging ground clears groups without requiring repeated direct hits. Toxic Rain becomes available at level 12 and adds a stronger option for tougher enemies.
Early passive priorities include Ballistic Mastery for projectile-related benefits, Primal Spirit for mana support and attributes, and the route toward Hunter's Gambit. Take useful life nodes along the way rather than treating damage as the only priority.
A mana flask is entirely reasonable during this stage. Clarity can help as it becomes available, but do not level or reserve it blindly if doing so leaves too little usable mana.

Acts 2–4: Use two attacks for different jobs
Use Caustic Arrow to clear groups and Toxic Rain against durable rares and bosses. Caustic Arrow's ground damage does not stack simply because multiple pools cover one enemy, whereas overlapping Toxic Rain pods can contribute damage together.
Pierce Support improves Caustic Arrow coverage by allowing projectiles to continue through enemies and create additional patches along their path. This is a clear-speed improvement rather than a way to multiply its damage against one stationary target.
As reservation options expand, consider Summon Skitterbots early and Haste later. Malevolence is valuable for the damage-over-time setup, but fitting every desirable aura immediately is not necessary. Reservation efficiency and the mana needed to attack must come first.
The Library quest provides access to additional gems, including Flame Dash. Blink Arrow is another useful movement option. Most ordinary travel can be handled by running quickly, saving movement skills for gaps and emergencies.
Acts 5–10: Make Toxic Rain the main damage skill
By the middle of the campaign, put increasing emphasis on Toxic Rain links and gem experience. Caustic Arrow remains helpful for coverage, but the main skill should carry tougher encounters.
Keep elemental resistances and maximum life in view as equipment changes. After the campaign resistance penalties, a fast character with neglected defenses can become surprisingly fragile.
Primal Spirit can eventually be refunded if its attributes and mana support are no longer needed. Only remove it after checking equipment requirements and sustained attacking. Freed points can support life, movement speed, or other useful nearby passives.
Choosing a Bow Without Wasting Currency
A fast bow with suitable sockets and links can carry the campaign even when its damage modifiers are unimpressive. Quill Rain is a useful leveling unique because its attack speed suits the build, but it is an option rather than a requirement.
For early equipment, prioritize the following:
- A practical linked setup for the main skill.
- Enough attack speed to make attacking comfortable.
- Life and elemental resistances on defensive slots.
- Movement speed on boots.
- Useful attributes and sufficient mana sustain.
Flat added damage may help during the opening levels, but it quickly becomes a poor reason to replace a bow for this particular setup. Later weapon upgrades should support the skill's actual scaling, especially gem levels and relevant damage-over-time modifiers.
A sensible Path of Exile currency budget starts with fixing weaknesses rather than buying a prestigious item. A few Chaos Orbs spent on missing resistances or a functional linked item can matter more than saving immediately for a weapon priced in Divine Orbs.
Take a look at: planning your Atlas progression into red maps
Toxic Rain Area of Effect and Pod Overlap
Area of effect is an important tuning point because it affects how effectively pods cover the same enemy. More is not automatically better: changes to coverage and pod placement mean indiscriminate investment can undermine the overlap a setup is designed around.
For the standard five-projectile configuration described here, aim for the 37–43% increased area of effect range. Treat this as a configuration-specific target, not a promise that every pod will damage every enemy under all conditions. Enemy size, movement, and changes to the skill setup still matter.
Practical sources of area of effect
- The relevant bow mastery supplies 20% increased area of effect.
- A crafted helmet prefix can add another portion.
- A crafted glove prefix can complete the target range.
- Corrupted jewel implicits can provide an alternative source.
Add the actual values on the character rather than assuming two crafted items will produce the correct result. For example, 20% from the mastery, 9% from a helmet, and 10% from gloves totals 39%.
This tuning is primarily an endgame concern. During the campaign, reliable links, leveled gems, and basic defenses deserve attention before perfect overlap optimization.
Automating Caustic Arrow and Utility Attacks
Manaforged Arrows and Caustic Arrow
Once mana management is comfortable, Manaforged Arrows Support can automate Caustic Arrow while Toxic Rain remains the manually used attack. Manaforged Arrows triggers supported bow attacks after enough mana has been spent on other bow attacks.
Linking Lifetap Support to the triggered attack shifts its cost to life and lowers the mana threshold involved in triggering it. This makes repeated activation easier while the character spends mana firing Toxic Rain.
The important limitation is that the main attack must still spend mana. Do not remove its mana cost without checking the trigger interaction. Likewise, life costs must remain manageable alongside incoming damage; flask recovery is support, not a reason to ignore costs entirely.
Frenzy charges, Withered, and culling
A separate utility setup can combine Manaforged Arrows Support, Frenzy, Toxic Rain of Withering, and Culling Strike Support. Its purpose is utility rather than replacing the main damage links:
- Frenzy helps generate frenzy charges against enemies.
- Toxic Rain of Withering helps apply Withered.
- Culling Strike finishes enemies once they fall below its threshold.
This arrangement reduces the number of actions needed during combat. Establish the basic build first, then add automation when sockets, gem access, and resource sustain allow it.
Flasks, Auras, and Early Mapping Priorities
The life flask is a core part of the defensive plan. With Master Surgeon, maintaining recovery can provide substantial sustain while attacking and moving. Read the flask's recovery amount, duration, and modifiers together: a larger total recovery value is not the same thing as faster recovery.
Haste, Malevolence, and Clarity are useful aura options as the character approaches maps. They are not a requirement to reserve all available mana. Adjust their use around reservation efficiency and the cost of sustained attacks.
Self-cast Despair against tougher enemies until a suitable on-hit source becomes affordable. This avoids paying an early convenience premium while the rest of the character still needs basic upgrades.
Withering Step can also support utility, but automated use can interfere with movement skills that share cooldown interactions. If Flame Dash charges are not recovering as expected, inspect this interaction rather than assuming the gem is malfunctioning.
Take a look at: farming upgrades in low-tier maps
A practical upgrade order
- First: Fix resistances, life, attributes, and resource sustain.
- Second: Improve the main skill's links and keep leveling its gem.
- Third: Establish reliable flask recovery and utility automation.
- Fourth: Tune area of effect and strengthen Withered application.
- Later: Invest in stronger gem-level equipment and convenience upgrades.
For early mapping, consistency is more valuable than theoretical damage that cannot be maintained. Avoid spending the entire PoE currency reserve on one offensive item while leaving flasks, defenses, or links unfinished.
Frequently Asked Questions
Does Toxic Rain scale with poison damage?
Not for this setup. Its main damage comes from the pods' chaos damage over time. Prioritize gem levels, relevant multipliers, attack speed, duration, and overlap instead.
Is Quill Rain required?
No. It is a convenient fast leveling bow, but a suitable rare bow with useful links and attack speed can handle campaign progression.
Why does Caustic Arrow clear well but feel weaker on bosses?
Its damaging ground covers groups efficiently, but multiple overlapping pools do not stack their damage on the same target. Toxic Rain is better suited to building overlapping damage against durable enemies.
Should area of effect be maximized?
No. Tune it for the intended pod configuration. The five-projectile setup discussed here targets 37–43% increased area of effect rather than unlimited investment.
When should Manaforged Arrows automation be added?
Add it when the required links are available and Toxic Rain can consistently spend mana. Check both mana sustain and triggered life costs before relying on it in maps.