
Path of Exile XP Farming Guide: Abyss and Breach on Strand
Learn how to combine monster density, efficient layouts, and selective looting for faster leveling.
Overview
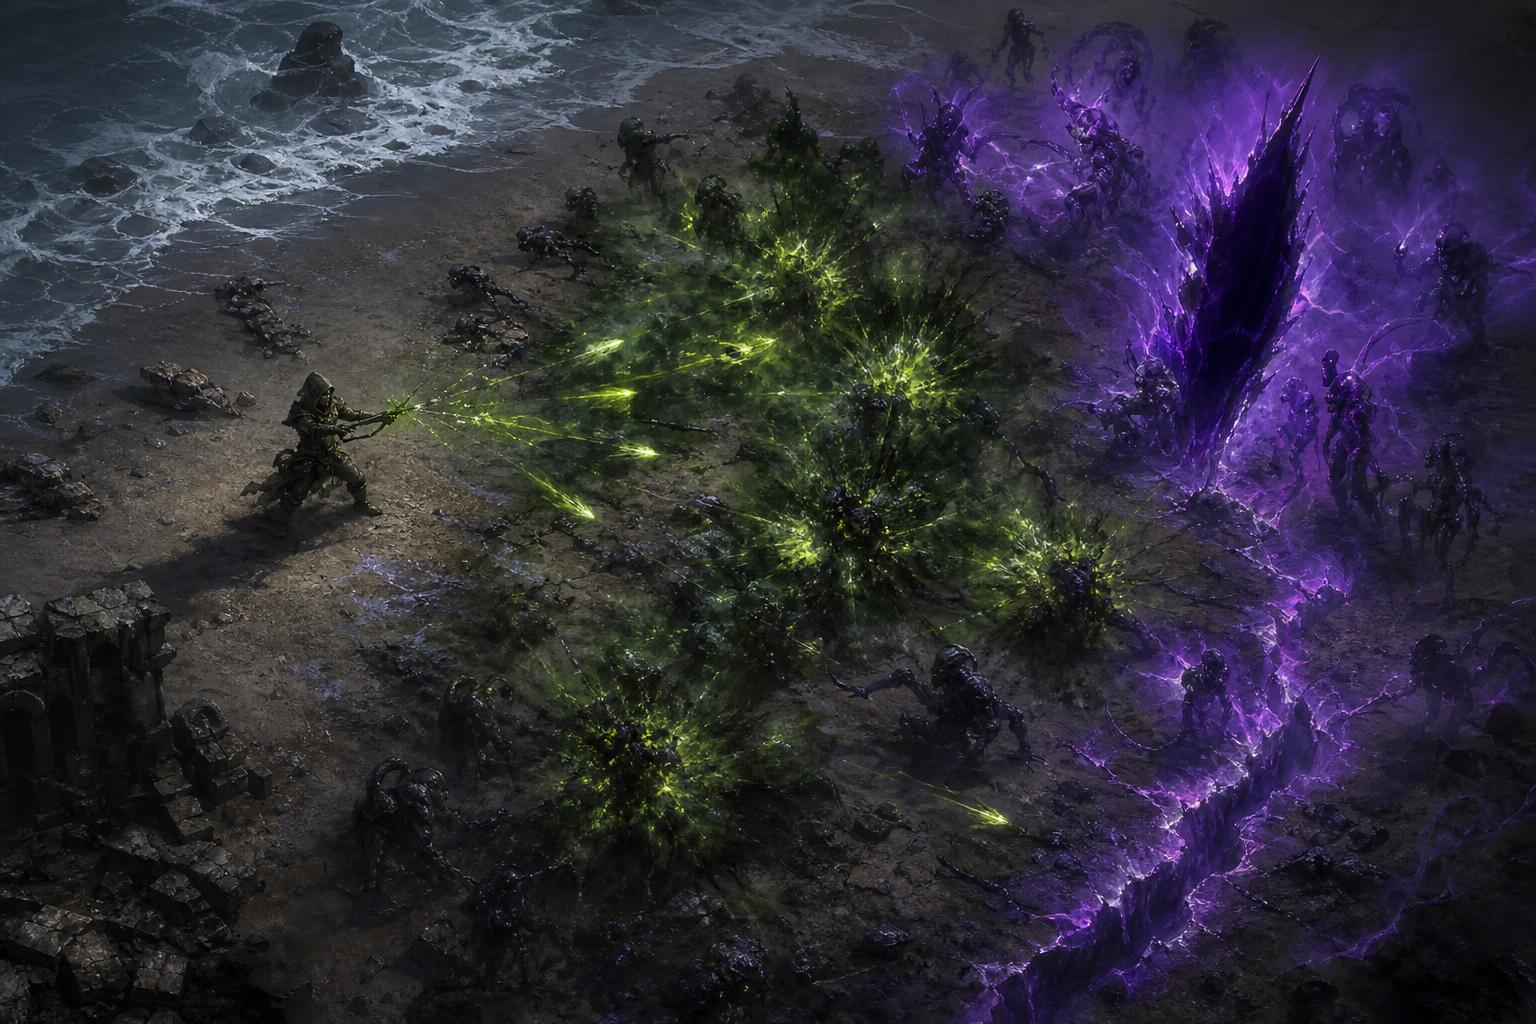
Learn how to build a high-density experience farming setup around Abyss, Breach, Shrines, and Searing Exarch influence. This Path of Exile strategy focuses on killing large packs efficiently, choosing manageable map modifiers, and collecting worthwhile loot without turning every map into a lengthy detour.
The central idea is simple: stack compatible sources of monsters, then use a straightforward layout to keep clearing. Strand is particularly comfortable because its mostly linear route reduces navigation and makes it easier to revisit unfinished encounters.
How the XP Farming Strategy Works
Abyss and Breach supply the main encounters. Atlas investment into magic monsters, rare monsters, pack size, and map modifier effect helps turn those encounters into sustained combat rather than isolated packs.
Shrines add more monsters and useful character buffs. Beyond can add another layer of enemies, but it is an optional extension rather than a requirement.
- Abyss: Follow moving encounters and clear successive waves.
- Breach: Fight expanding concentrations of monsters while staying close enough to maintain the encounter.
- Shrines: Gain buffs and clear their guarding packs.
- Searing Exarch influence: Add influenced monster packs without needing to select altar rewards.
- Beyond: Add extra enemies when the setup and character can support them comfortably.
The objective is not maximum difficulty. It is maximum sustainable experience: enough density to keep attacking, with sufficiently reliable defenses to avoid losing progress to deaths.
Choose Strand and Prepare Runnable Maps
Why Strand Works Well
Strand has a clear direction of travel and little navigational complexity. That matters when several mechanics are competing for attention. Breaches can be activated along the route, while Abysses may require short returns to finish spawning monsters or collect rewards.
A dense Strand can take considerably longer than an ordinary clear, but that is useful when most of the time is spent fighting. Fewer hideout visits and map transitions help maintain a steady farming rhythm.

Roll for Six Modifiers Without Ignoring Safety
Six-modifier rare maps are the baseline for this setup. Eight-modifier corrupted maps are an option when their modifiers suit the build, not a requirement for getting started.
- Use an Orb of Alchemy to make a normal map rare.
- Check its modifiers against the build's restrictions.
- If using Exalted Orbs to add modifiers, check the map again after every addition.
- Separate unsafe maps rather than running them simply because resources have already been spent.
Map preparation is part of the difficulty check. A safe map can become unsuitable after gaining another modifier, especially when map modifier effect amplifies its penalties.
Using Exalted Orbs this way also has an opportunity cost. Compare the preparation expense against your available Path of Exile currency and the results from a small test batch before committing to a large supply.
Atlas Passive Priorities
Start With Monster Density
Prioritize the Atlas passives that support magic monsters, rare monsters, pack size, and the two main encounter types. Magic packs are especially valuable to the strategy because they combine useful experience with multiple enemies that can be cleared together.
Map modifier effect strengthens the setup, but it also increases the importance of careful rolling. More dangerous penalties are not worthwhile if they force slower play or cause deaths.
A practical priority order is:
- Establish Abyss and Breach as the main sources of encounters.
- Invest in useful magic and rare monster scaling.
- Add pack size and map modifier effect as the character can handle them.
- Take Shrine support for clear speed and additional packs.
- Spend remaining points on optional Beyond investment.
Take a look at: how Thread difficulty affects farming rewards
Keep Beyond Optional
Beyond fits naturally into dense encounters, but the strategy does not depend on it. With limited Atlas points, preserve the core monster-density investments before allocating extra Beyond passives.
Likewise, do not repeatedly reroll otherwise good maps solely to secure Beyond. Extra monsters are useful only when their acquisition cost and added difficulty remain reasonable.
Choose Shrine Effects for Your Build
A Gloom Shrine is particularly useful in tightly packed encounters because its explosions help clear clustered enemies. An acceleration-focused option can be preferable when movement and attack or cast speed provide more practical benefit.
Consider what the character already does well. A build with strong pack-clearing explosions may value additional speed differently from one that struggles to finish dense waves.
Encounter Settings and Influence
For the Thread-based setup, start with one Abyss Thread and one Breach Thread. Increasing their intensity raises difficulty, but should not be assumed to deliver a proportionate increase in experience or rewards.
The basic version should already provide enough enemies to test the build's performance. Raise difficulty only after checking actual clear time and survival rather than judging by monster count alone.
Searing Exarch influence supplies additional packs that suit this approach. There is no need to activate altars simply to obtain the influenced monsters. Leaving altar choices alone avoids adding penalties that could compromise a leveling run.
For Abyss, keep the focus on encounters within the map rather than investing toward Abyssal Depths. Side areas and lengthy diversions may have their own rewards, but they interrupt the continuous clearing pattern this strategy aims to maintain.
How to Clear Each Map Efficiently
- Begin along the main route. Clear ordinary packs while locating your first encounters and Shrines.
- Activate Breaches as you reach them. Continue fighting nearby instead of standing still unnecessarily.
- Stay within useful encounter range. Moving too far ahead can waste the Breach and leave monsters unkilled.
- Trigger Abysses and follow their progress. Clear nearby enemies during spawning pauses rather than waiting without attacking.
- Return for unfinished encounters. Make short, deliberate loops rather than repeatedly crossing the whole map.
- Collect valuable rewards selectively. Finish relevant chests and pick up worthwhile drops without inspecting everything mid-combat.
Abyss is the main reason to backtrack. It is reasonable to move a short distance ahead while monsters emerge, but do not abandon the encounter or lose track of its progression.
The boss room is secondary when experience from dense encounters is the sole objective. Include it when its rewards or progression value justify the time; it does not need to dictate the route.
Skip Optional Content That Hurts Clear Speed
Additional mechanics are not automatically improvements. Delirium can increase the time and damage required to clear enemies, making it a poor fit when it overwhelms the character's damage.
Entering the Viridian Wildwood also interrupts the main route. For a focused leveling session, skipping that diversion keeps the run simpler and more consistent.
Mirage content presents a more conditional decision. An experience-related benefit can make it attractive, but extra traversal and another clear must be weighed against the time required. Judge it by completed-map pace, not just the appeal of its reward modifier.
Build Requirements and Realistic XP Expectations
Strong area coverage, dependable defenses, and damage that scales well against packs are more important than an impressive single-target damage figure. Explosions and poison proliferation can perform particularly well because tightly grouped monsters allow kills to spread through an encounter.
There is no universal damage threshold for this method. Start with the simplest version and assess whether enemies die quickly enough to prevent dangerous accumulation.
Experience rates also depend heavily on character level. Around level 93, this setup can reach approximately 500 million experience per hour under favorable conditions, including time spent looting. That is a potential result, not a guaranteed baseline.
Rates fall as the character approaches level 100. The final level can drop below 100 million per hour even when the same general strategy remains effective. Compare tests at similar levels and include preparation, looting, and deaths when evaluating results.
In experience-loss areas, a death removes progress. A slightly easier setup that survives consistently is usually preferable to an aggressive version that repeatedly gives back its gains.
Take a look at: Atlas progression toward red maps
Balance Loot With Leveling
This is an experience-first strategy that still produces loot. Abyss chests are worth considering during the return pass, while strict item filtering reduces interruptions from low-value drops.
Treat valuable drops such as Divine Orbs as occasional upside, not an expected payment from each batch. Assess returns across several maps and account for the resources used to prepare them.
A sensible PoE currency budget protects the farming loop: maintain enough maps and rolling supplies first, then invest surplus resources into upgrades that improve survival or pack-clearing speed. Expensive preparation is counterproductive if the character cannot finish the maps reliably.
Frequently Asked Questions
Is Beyond required for this strategy?
No. Abyss, Breach, Shrines, and monster-density scaling provide the core setup. Beyond is an optional addition when points and character strength allow it.
Do I need eight-modifier maps?
No. Six-modifier rare maps are the starting recommendation. Use eight-modifier maps only when their combined modifiers are manageable.
Should I click Searing Exarch altars?
Not for the experience-focused version. Influenced packs appear without selecting altar options, so skipping them avoids unnecessary penalties.
Why does my experience per hour fall at higher levels?
Experience penalties become more restrictive as you outlevel the monsters. Lower rates near level 100 do not necessarily mean the strategy is performing worse.
Should I loot everything or focus entirely on experience?
Use a selective filter and collect worthwhile rewards along the route. If looting dominates the run, tighten the filter before adding more encounter difficulty.