
Star Citizen Bunker Missions in 4.8: What Changed, What Still Breaks, and How to Run Them Efficiently
A practical guide to bunker combat, NPC behavior, loot routes, mission bugs, and safer ways to earn credits in Stanton.
Overview
What You'll Learn
This guide explains how entry-level bunker contracts and distribution center mercenary missions currently play in Star Citizen, with a focus on enemy behavior, positioning, loot expectations, common bugs, and how to reduce unnecessary losses. If you want a grounded aUEC making guide for FPS content in Stanton, this will help you decide when bunker runs are worth your time and how to avoid the mistakes that turn a simple contract into a trip to Klescher.
Why Bunker Missions Feel Different in 4.8
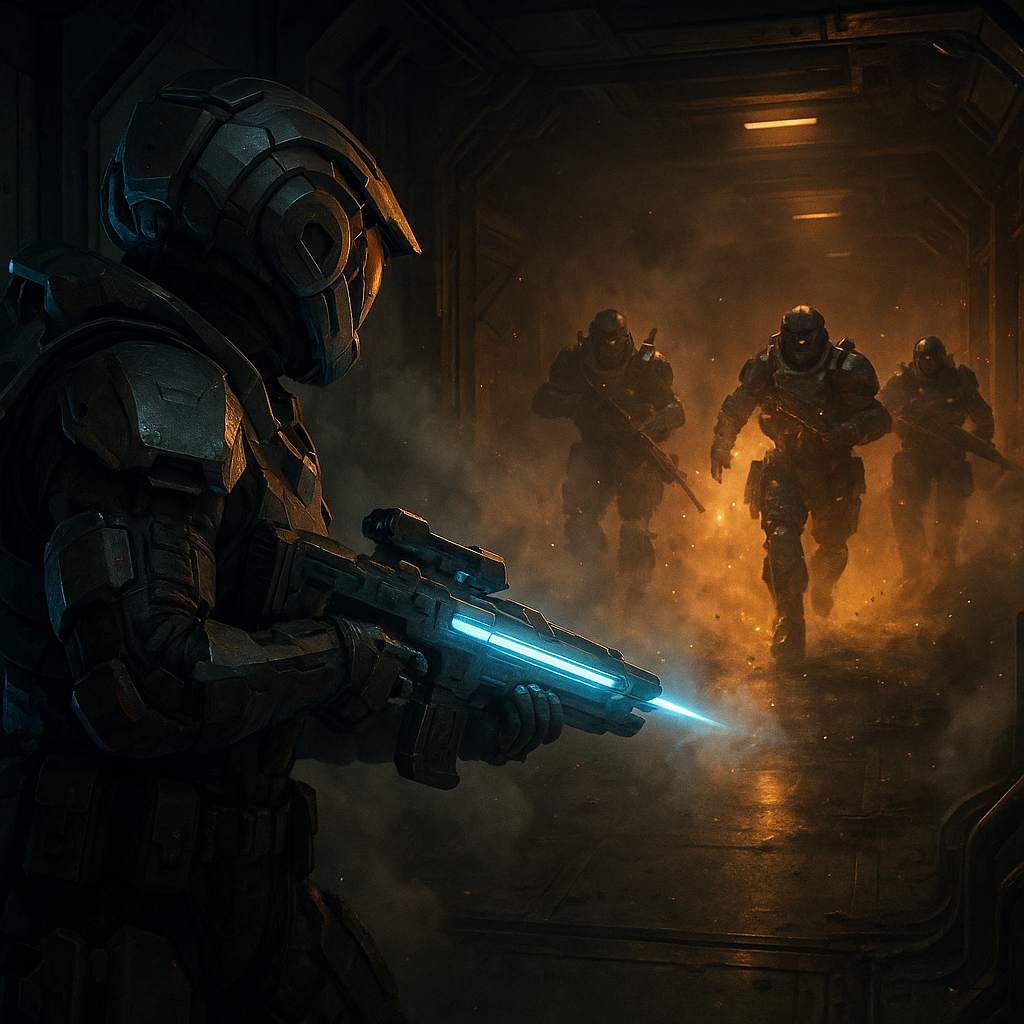
Basic defense site contracts remain one of the most accessible ways to start FPS content, but they no longer feel like slow target practice. Enemy AI is still inconsistent in some moments, yet once hostiles identify your position they are much more willing to push aggressively. That change alone makes even low-tier bunker jobs more dangerous than many players expect.
There are also clear quality-of-life improvements. Enemy voice lines now do a better job of matching their actual location, which makes sound cues more useful when clearing hallways, stairs, and side rooms. Marker support for remaining enemies can also make cleanup easier, especially for newer players learning bunker layouts.
At the same time, old frustrations have not disappeared. Missions can still fail to complete because one hostile never spawns correctly or becomes unreachable. Friendly security can behave oddly, vanish when combat starts, or reappear after the fighting ends. Because of that, bunker contracts are still solid for Star Citizen mission aUEC, but they are not yet fully reliable.
How Entry-Level Bunker Missions Work
The most common starting contract is a defense site mission in Stanton, often tied to a security contractor evaluation or similar mercenary task. These missions usually place you in a bunker with friendly guards already present. After a short delay, waves of hostile NPCs spawn and begin moving through the interior.
In practice, the mission loop is simple:
- Fly to the bunker and land close enough for a quick retreat.
- Enter before the first wave begins and identify likely cover positions.
- Confirm which NPCs are friendly before firing.
- Hold a strong angle as the first wave pushes.
- Reposition between waves, reload, and top off medical supplies.
- Loot only when the room is actually safe.
That sounds straightforward, but the danger comes from how quickly the situation can collapse after a bad reload, a missed target, or a push from multiple directions.
NPC Behavior: The Biggest Change You Need to Respect
The most important lesson from current bunker runs is that hostiles may hesitate at first, but they do not stay passive for long. Once they detect you, they often advance in groups, pressure your cover, and punish slow reloads. If you are treating these enemies like older bunker AI that stood around waiting to be shot, you will get overwhelmed.
Several trends stand out:
- Initial reaction can still be delayed. Some enemies take a moment to recognize you or commit to a push.
- Once alerted, they become much more aggressive. Expect movement toward your position rather than static peeking.
- Audio is more useful than before. Voice lines tend to better reflect where enemies actually are.
- Heavies appear even in simple contracts. Armor and pressure can spike harder than expected for entry-level jobs.
- Grenades remain a real threat. Tight cover and tunnel vision can get you killed fast.
This means bunker survival is less about raw aim and more about choosing a position that gives you time to react. A narrow angle near the entrance or a fallback point with a clean line of sight is often safer than pushing deep into the complex too early.
Best Positioning for Early Bunker Clears
If you are running basic mercenary contracts on a fresh account, positioning matters more than gear. The safest approach is to establish control over one lane and force enemies to come through it instead of exposing yourself to multiple staircases and side corridors.
Use the Entrance as Your Anchor
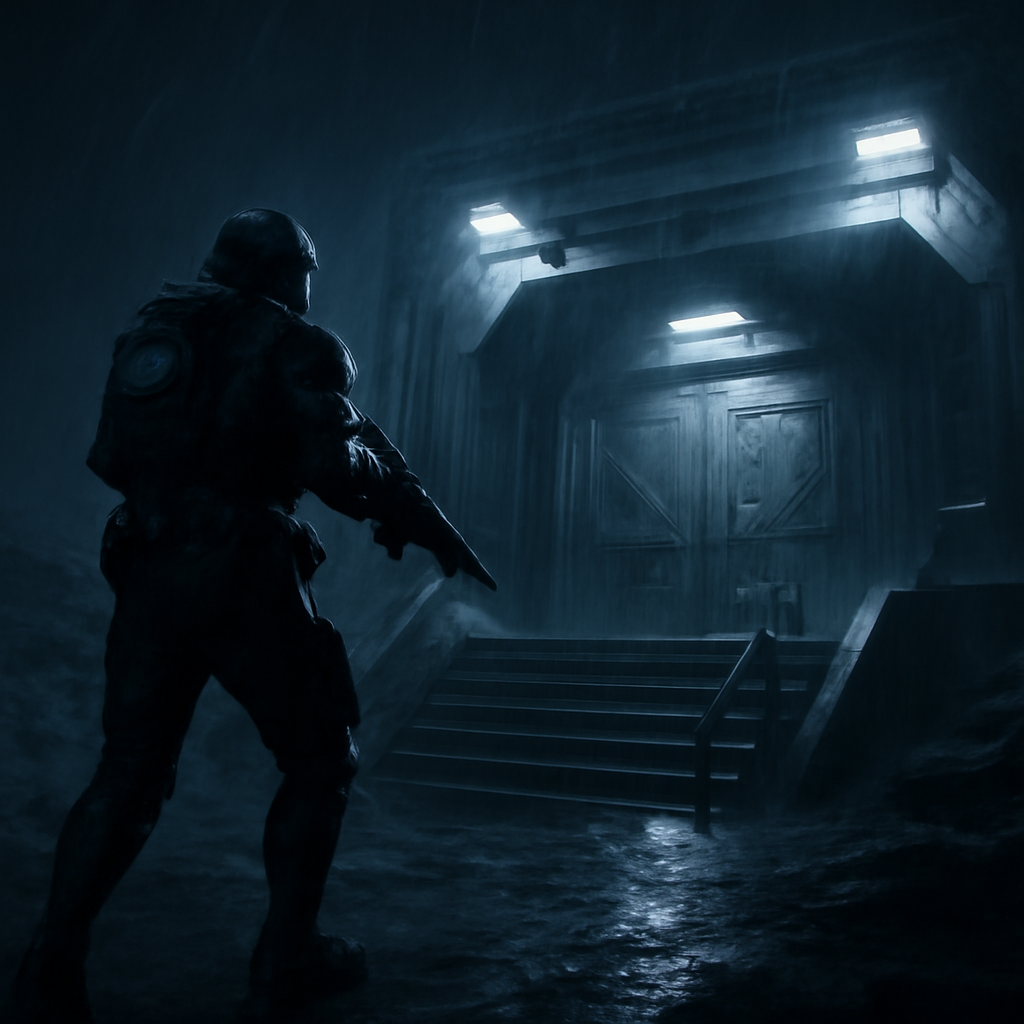
The bunker entrance is often the best fallback point because it limits the number of directions enemies can attack from. You can briefly push forward to thin out a wave, then retreat before a reload or heal. This is especially valuable when hostiles start chaining pushes.
Do Not Trust Weak Cover
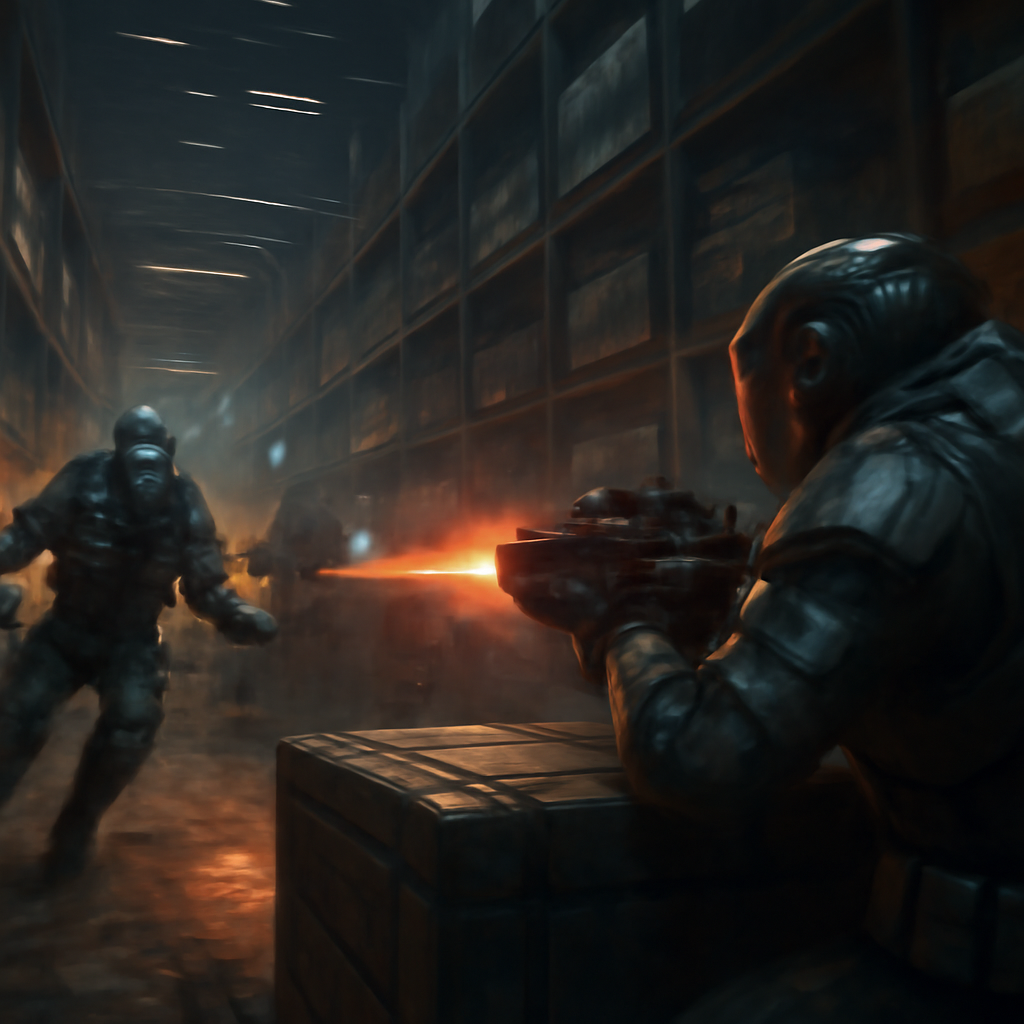
Some interior objects look protective but leave your body exposed. If your cover forces you to crouch awkwardly or blocks your own movement, it is a trap. Choose positions that let you break line of sight completely.
Reload Before the Next Wave, Not During It
Many bunker deaths happen because players finish a wave, start looting, then get surprised by the next timer. Between waves, reload every weapon, heal injuries, and move back into a known defensive angle before the spawn begins.
Keep a Retreat Route Open
If enemies push from both sides, you need room to disengage. Avoid overcommitting to corners where one grenade or one heavy with line of sight can end the run.
Recommended Weapons and Loadout
You do not need a premium arsenal to clear entry-level FPS contracts, but you do need consistency. Weapons with stable recoil, clear sights, and enough magazine capacity to handle chain pushes are ideal. Laser rifles are especially forgiving because they reduce ammo management pressure compared to ballistic weapons.
A practical bunker loadout should include:
- A primary rifle with reliable close-to-mid-range performance
- At least a few spare magazines ready on your character
- A medgun or healing supplies for quick recovery
- A sidearm only as backup, not as your main plan
- A tractor tool if you intend to move bodies or loot efficiently
For newer players, looted weapons can help reduce upfront costs. That makes bunker contracts useful for building inventory as well as income. If you are watching your progression budget carefully, this is one of the cleaner ways to collect gear without spending all your credits on replacements and aUEC for component upgrades.
Loot Quality: Bunkers vs Distribution Centers
Standard bunkers still offer scattered loot, but the quality can feel inconsistent. You will often find ammo, drinks, medical items, and occasional weapons, yet many boxes are underwhelming for the time spent searching. If your main goal is profit per minute, the contract payout matters more than the average bunker crate.
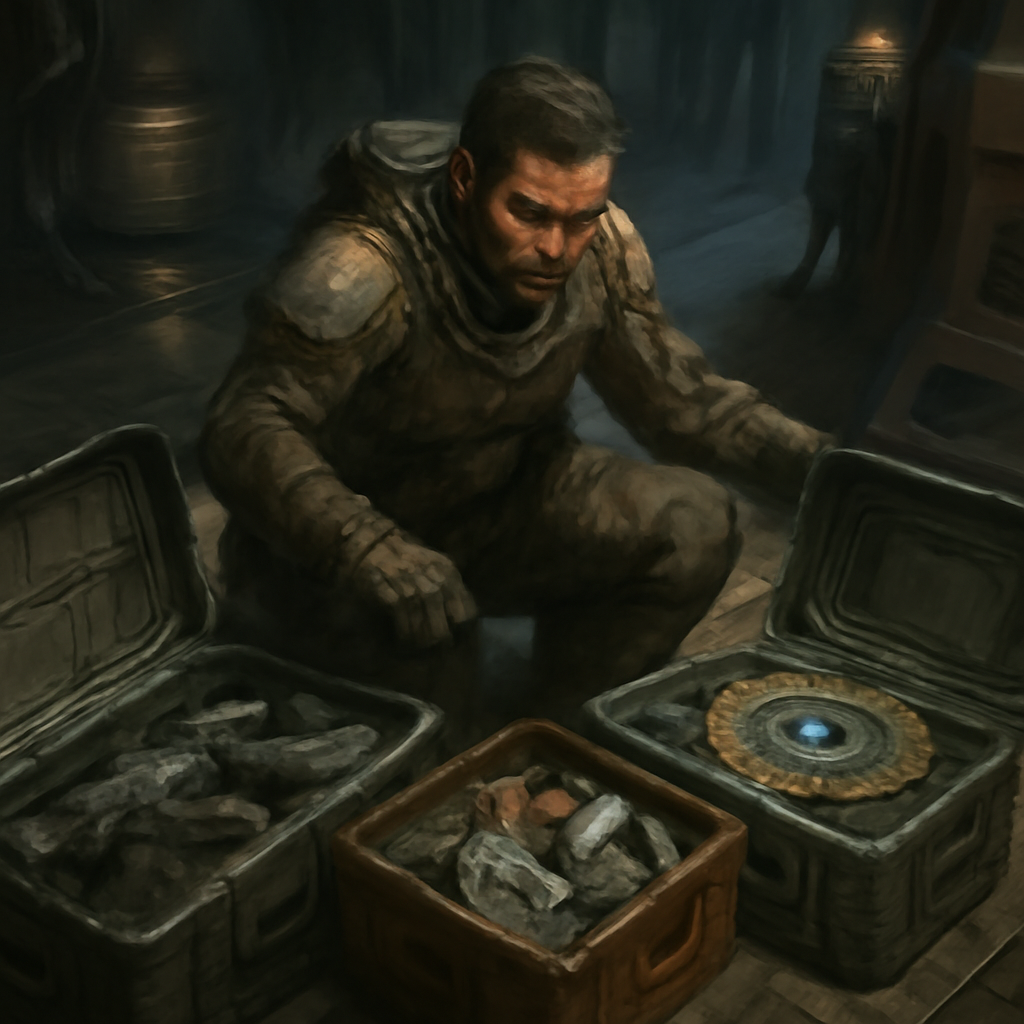
Distribution center missions are more interesting from a loot perspective. Storehouses can contain:
- Weapons and ammunition
- Medical supplies
- Multi-tools and utility gear
- Mining attachments and tractor beam tools
- Ship components such as shield generators
- Clothing and miscellaneous items
That makes them attractive for players trying to bootstrap a fresh account. A single useful component or a stack of practical gear can save a surprising amount of money. For players focused on Star Citizen early game aUEC, this kind of loot efficiency can matter almost as much as the mission reward itself.
Why Some Missions Still Fail or Turn Risky
The biggest problem with bunker content is not the firefight. It is the instability around completion and legal status.
Bugged Final Enemies
One of the most common failures is a mission that never completes because the last hostile cannot be found. Sometimes the marker disappears, the enemy spawns incorrectly, or the target is effectively outside the playable route. When that happens, abandoning the contract may be the only option.
Security Desync and Strange Friendly Behavior
Friendly guards may vanish when combat begins, then return later as if nothing happened. This can leave you handling every wave alone. It also creates confusion about who is actually controlling the bunker during the mission.
Trespassing After Completion
Distribution center runs can become dangerous immediately after success. If you stay too long to loot, you may be flagged as trespassing and attacked by local security and turrets. This is one of the fastest ways to turn a profitable mercenary run into lost gear, ship damage, or prison time.
That risk is a major factor in Star Citizen bunker mission aUEC efficiency. A mission with decent payout stops being worthwhile if you lose your equipment trying to carry out one extra component crate.
How to Loot Without Throwing Away the Run
Loot discipline is what separates efficient bunker farming from chaotic losses. The safest rule is simple: clear first, sort later. Do not stop in the middle of a wave to inspect every box. Even if the AI feels slow at first, a push during your inventory screen can end the contract instantly.
Use this order of priorities:
- Finish the combat objective
- Confirm the mission is actually complete
- Watch for legal status changes like trespassing
- Take only high-value or immediately useful items first
- Leave low-value clutter behind if security pressure is rising
If you find a component too large or awkward to move safely, ask whether it is worth the extraction risk. In many cases, surviving and chaining the next mission is better for long-term profit than gambling everything on one extra item.
A Practical Bunker Routine for Consistent Results
If your goal is stable income rather than dramatic clips, keep the routine simple and repeatable. This is the best way to build reliable Star Citizen money making habits from FPS content.
1. Accept Low-Risk Contracts First
Start with basic defense site missions and learn the current pacing of the AI. Do not jump straight into riskier FPS content until you are comfortable with wave timing and room control.
2. Land for a Fast Exit
Park close enough to sprint back if things go wrong, but not so carelessly that you expose yourself to unnecessary turret fire or awkward terrain on departure.
3. Bring More Ammo Than You Think You Need
Because enemies now push more aggressively, dry reloads are much more punishing. Running out in the middle of a chain fight is avoidable.
4. Hold a Defensible Angle
Let the first wave come to you. Once you understand the spawns, you can push more confidently between waves.
5. Treat Mission Completion as the Real Finish Line
Especially at distribution centers, the contract is only truly profitable if you leave alive with your gear and your ship intact.
Are Bunker Missions Good for aUEC Right Now?
Yes, but with conditions. Bunkers are still a viable way to earn in-game income, collect weapons, and build confidence in FPS combat. They are especially useful for newer players who want low-entry mercenary content without the cargo investment of hauling or the ship requirement of harder space combat loops.
However, they are not perfectly stable. Bugs, incomplete waves, strange guard behavior, and post-mission trespassing can all cut into returns. That means bunker contracts are best treated as part of a broader progression plan rather than your only activity.
For players balancing limited playtime, ship upgrade goals, and the costs of weapons, armor, and repairs, there is always a time-versus-grind question. Some players prefer to self-fund everything through missions, while others look for ways to smooth out progression when a patch is unstable or a session gets derailed. That is why topics like how to smooth out Star Citizen progression with additional aUEC or how to buy Star Citizen aUEC safely for ship upgrades keep coming up in the community, especially when bugs waste otherwise productive play sessions.
Still, if the goal is learning FPS systems, improving survival, and building practical gear reserves, bunker content remains one of the better early mercenary loops in Stanton.
When Distribution Center Missions Are Better Than Standard Bunkers
Distribution centers are often the better choice if you care about loot variety and account progression. They can provide useful utility items, weapons, and components that reduce future spending. That makes them appealing for players trying to move beyond a starter setup without committing to riskier cargo gameplay.
The tradeoff is legal danger. If you overstay after the mission or fail to respect the restricted area rules, security response can escalate quickly. In other words, distribution centers can be better for gear value, but worse for safe extraction.
If you are deciding between the two:
- Choose standard bunkers for simpler structure and cleaner wave defense
- Choose distribution centers for better loot potential and account utility
- Avoid greed in both, because one bad exit can erase several successful runs
Frequently Asked Questions
What is the minimum gear needed for entry-level bunker missions?
A reliable primary weapon, spare magazines, basic healing, and enough armor to survive a few hits are usually enough. Positioning matters more than expensive gear.
Why do bunker missions sometimes not complete?
The most common cause is a bugged final enemy or a missing marker. If the area is fully cleared and nothing updates, abandoning the contract may be necessary.
Are bunker missions still good for new players?
Yes. They are still one of the more approachable ways to learn FPS combat, collect equipment, and earn credits and aUEC without a large startup investment.

How do I avoid getting killed after a distribution center mission?
Leave quickly once the objective is complete, especially if trespassing warnings appear. Do not assume you have unlimited time to loot after the contract ends.
Is bunker farming better than other income loops?
It depends on your ship access and tolerance for bugs. For many players, bunkers are a solid early option, while hauling, mining, or salvage become stronger later forms of Star Citizen aUEC farming.
Final Take
Bunker missions in 4.8 are more intense, more readable, and still frustratingly inconsistent. The AI is better at pressuring you, audio cues are more useful, and even simple contracts can produce hectic fights with heavies and grenades. At the same time, bugs and security issues still limit how dependable the loop feels.
If you approach them with realistic expectations, strong positioning, and disciplined looting, they remain a worthwhile part of early mercenary progression. For anyone building a fresh account, testing FPS mechanics, or looking for a practical way to earn without major ship investment, bunker contracts are still very much worth learning.