
Star Citizen Constellation Mark V Loadout: Components and Power Management
Learn which components to prioritize, how to balance their power demands, and where to shop for a practical general-purpose build.

Overview
A strong Star Citizen Constellation Mark V loadout needs more than powerful shields and expensive generators. Its components must work together within a limited power budget, leaving enough capacity for weapons, propulsion, cooling, and radar. This guide explains a practical store-bought setup, the alternatives worth pursuing through loot or crafting, and the power-management decisions that make the build useful in combat.
Build Around Sustained Combat, Not Stealth
The Constellation is a large, conspicuous ship. Its physical cross-section and substantial component requirements make it a poor starting point for a dedicated stealth setup. Reducing emissions can still help, but it should not come at the expense of the systems needed to survive a fight.
The component arrangement considered here uses two size-two power plants, two size-two coolers, a size-two quantum drive, a size-three radar, and two size-three shield generators. Together, these create competing demands on the available power supply.
The goal is therefore straightforward: maintain useful shield regeneration, support sustained weapon fire, keep cooling adequate, and retain practical radar performance. Treat lower emissions as a secondary benefit rather than the defining purpose of the build.
Recommended Purchasable Component Loadout
This setup emphasizes equipment obtainable through in-game shops rather than making rare loot or high-quality crafting materials a prerequisite. Shop inventories, prices, and component balance can change, so verify each item before committing your upgrade budget.
- Power plants: two Genoa industrial Grade A units.
- Shields: two 7CA Nargun civilian Grade A generators.
- Coolers: two IceBox stealth Grade B units.
- Radar: FullSpec Max industrial Grade A.
- Quantum drive: Hemera civilian Grade A.
The complete shopping plan sits a little above two million in-game credits at the quoted prices. That makes this a substantial investment rather than a minor starter upgrade. Keep some Star Citizen aUEC available for repairs, ammunition where applicable, and other operating expenses.
Genoa Power Plants: Capacity With Distortion Resistance
The Genoa and StarBurn are the main purchasable alternatives considered for this build. Both offer comparable maximum output in the comparison, but the Genoa has substantially better distortion resistance. That makes it the more attractive general-purpose choice when survival matters alongside raw power availability.
Fit two matching Genoa units to establish the foundation of the loadout. Do not assume that adding together component output figures will perfectly predict the usable power shown in the cockpit. Check the actual allocation interface after installation and build the rest of the setup around that usable budget.
7CA Nargun Shields: A Practical Defensive Compromise
The Nargun offers a strong civilian alternative to military shielding. The comparison places each generator at a 100,000-point shield pool, with slightly less combined capacity than the preferred FR-86 pair but a useful balance of regeneration and power demand.
Shield capacity is only part of the decision. Regeneration, recovery delays, component durability, and required power all affect how well a shield performs through a sustained engagement. A generator that leaves room for weapons and cooling can be more useful than one that overwhelms the rest of the build.
Supplying the minimum power needed to activate both generators is not the same as maximizing their regeneration. Allocate additional power when under pressure, but avoid creating a cooling or propulsion problem to do so.
IceBox Coolers: Preserve Power for Other Systems
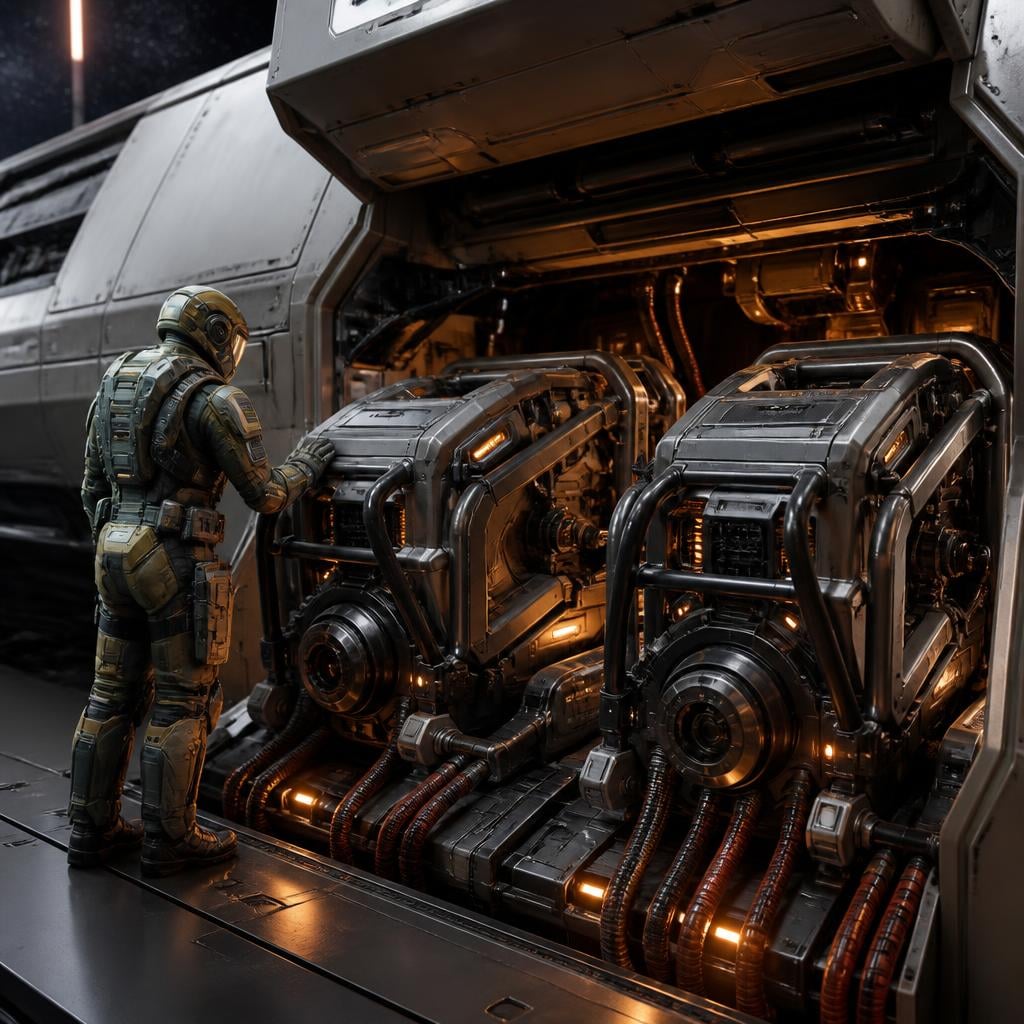
The IceBox is selected for its relatively low power requirement and reduced emissions, not because this is intended to become a stealth ship. Its role is to meet cooling demand without consuming power that could support the shields or weapons.
Do not choose coolers solely by the largest cooling figure. Compare the cooling capacity against the power required to deliver it. Once installed, confirm that the ship remains within its cooling capacity under the conditions in which it will actually fight.
FullSpec Max Radar: Balance Assistance Against Power Cost
The FullSpec Max provides a useful compromise between radar assistance range and power demand. The comparison gives it an assistance range extending to roughly 3.5 kilometers at its upper setting, while the balanced cockpit configuration reaches about 3.3 kilometers.
That makes it suitable for engaging at several kilometers without dedicating the larger power allocation demanded by the military alternative. However, targeting assistance is not a guarantee of hits. Target size, relative movement, projectile behavior, and pilot aim still determine whether shots connect.
Hemera Quantum Drive: Favor the Whole Journey
The Hemera is the preferred general-purpose travel option. Its appeal is the balance between travel time, spool behavior, cooldown, and power demand rather than winning every individual route comparison.
The XL-1 is worth considering for shorter journeys, while the SunFire is competitive over longer distances. A drive with a slightly faster long jump can still be less convenient when its cooldown delays the next leg. Choose around the routes flown most often, including any intermediate stops.
Take a look at: Constellation Mark V firepower and crew requirements
Where to Buy the Components
The shopping route centers on Orison and New Babbage. Combining purchases into two stops makes the refit easier to organize and reduces unnecessary travel.
Orison: Cousin Crow's
Travel to the Providence Industrial Platform and visit Cousin Crow's for the IceBox coolers and Hemera drive. The Nargun shields are also included among the available purchases in this shopping plan.
- Buy two IceBox coolers.
- Buy one Hemera quantum drive.
- Buy two Nargun shield generators if available there.
New Babbage: Omega Pro
At New Babbage, head to the Commons and locate Omega Pro. This stop covers the Genoa power plants and FullSpec Max radar, with the shields offering another potential purchase there.
- Buy two Genoa power plants.
- Buy one FullSpec Max radar.
- Complete the shield purchase if it was not handled at Orison.
The quoted shopping figures put each cooler at 123,200 credits, each shield at 240,000, and each power plant at approximately 475,000. The radar approaches 400,000. These figures are useful for planning, not as a permanent price guarantee.
Install and Verify the Loadout
Use the vehicle loadout interface while the ship is stored at an appropriate location. Replace the intended components, save the configuration, then retrieve the ship and inspect the installed equipment from the cockpit.
When changing the quantum drive, a precaution described for this setup is to detach the jump drive first, replace the quantum drive, and then refit the jump drive before saving. This is intended to avoid an equipment-state issue rather than provide any performance advantage.
- Confirm both power plants and both shield generators are installed.
- Check that the correct coolers and radar appear in the component list.
- Verify the quantum and jump-drive configuration.
- Review power allocation before leaving the landing area.
- Test cooling and weapon recharge before accepting a demanding mission.
Power Management for Laser Weapons
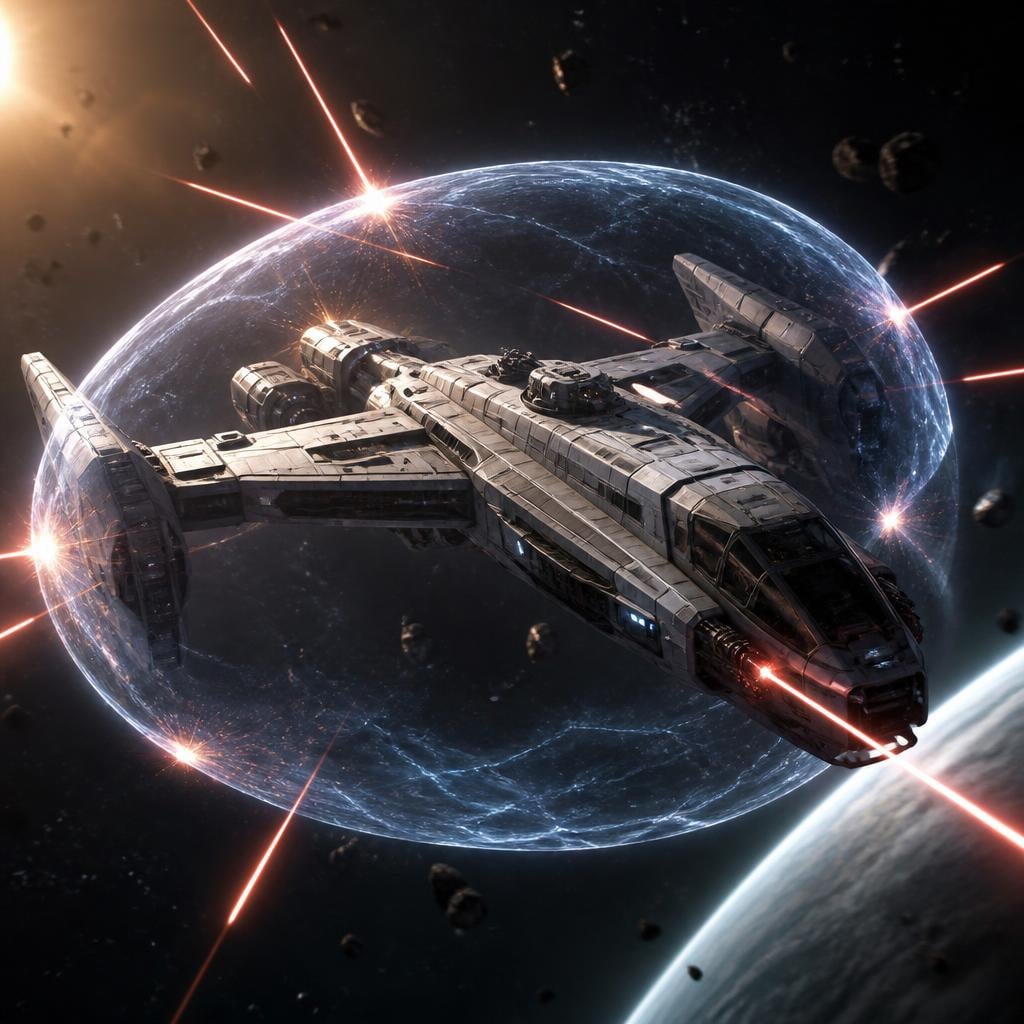
Trying to maximize every system at once exceeds the practical budget of this setup. The solution is to reduce allocations selectively, not simply disable equipment until the warning disappears.
Start with sufficient cooling, then establish workable weapon, engine, and shield allocations. Reduce radar power slightly if necessary. Losing some assistance range is generally preferable to sustained overheating or starving the weapons during a fight.
The demonstrated cockpit arrangement keeps cooling at three pips. Reducing it further pushes cooling demand beyond capacity. Treat that as a warning to restore power, not as a sustainable combat setting.
Solo and Crewed Weapon Priorities
When flying alone, deactivate unused turret weapons so they do not compete unnecessarily with the pilot's guns. When a gunner joins, restore those systems and reassess the allocation rather than assuming the solo setup remains appropriate.
Ballistic weapons can relieve some energy-weapon demands, but they introduce ammunition constraints. A heavily ballistic configuration may free power for other systems; a laser-focused configuration prioritizes sustained operation without the same ammunition dependence.
After switching between navigation and SCM modes, check that the intended allocations remain suitable. Verify weapon readiness before committing to an engagement instead of assuming the mode transition has left every system prepared.
Take a look at: Constellation component access and interior layout
When Military and Crafted Components Make Sense
The higher-investment alternative uses FR-86 military shields, JS-400 power plants, and potentially Nightfall stealth coolers or Avalanche military coolers. These options target stronger defensive performance, more available power, or improved cooling efficiency.
Crafted JS-400 units are particularly attractive when additional output allows more systems to operate at stronger settings simultaneously. However, acquiring suitable components and high-quality materials adds effort beyond the shop-bought route.
Before spending more Star Citizen credits on supporting equipment, decide whether the existing build has a specific weakness. Upgrade to solve an observed problem, such as insufficient regeneration or restricted weapon power, rather than replacing every component simply because a higher grade exists.
Crafted equipment also represents time and material investment that can be affected by persistence changes. The purchasable configuration remains a practical baseline for players who value straightforward replacement and predictable preparation.
FAQ
Is this a stealth Constellation build?
No. The cooler choice helps control emissions, but the build prioritizes combat capability. The ship's size and broader component demands remain important detection factors.
Should shields or power plants be upgraded first?
Check the existing power budget first. Stronger shields are less useful if the ship cannot support them alongside adequate cooling and weapons.
Do lasers work with this loadout?
Yes, but they require deliberate power allocation. Disable unused turret weapons when solo and preserve enough cooling for sustained operation.
Is the Hemera always the fastest quantum drive?
No. Its recommendation is based on balanced travel characteristics. Other drives can suit particular route lengths better.
Are crafted components necessary?
No. The store-bought configuration is intended to function without crafting. Higher-end components are optional improvements once their benefits justify the acquisition effort.